There may be a situation when sometimes user needs to change the computer name for the server where Sage X3 is already configured, but as soon as server name is changed the Sage ERP X3 solution will be no longer working.
In this blog we will see how to reconfigure the Sage X3 solution again with the new computer/domain name.
- Unpublished any Print folders and Web folders
Before changing the server name, on the source server, launch the Sage X3 console and choose the Web Servers from the drawer. Select the Publications button on the menu bar. Unchecked all the folders to unpublish them. Do the same procedure to the Printer Servers tab. Select the Print Servers from the drawer, select Publications button, and unchecked all publications to all the folders.
Note: Make sure all the folders have been unpublished before changing the server name.
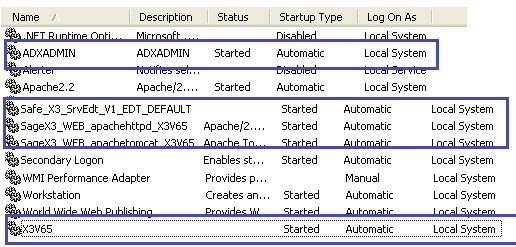
- Stop all X3 Services
Make sure to stop all the Sage X3 services. Launch Services management console from the Windows Control Panel. You can manually stop all X3 services.
We will need to restart these services at later stage.
- Update the Sage X3 Solution File
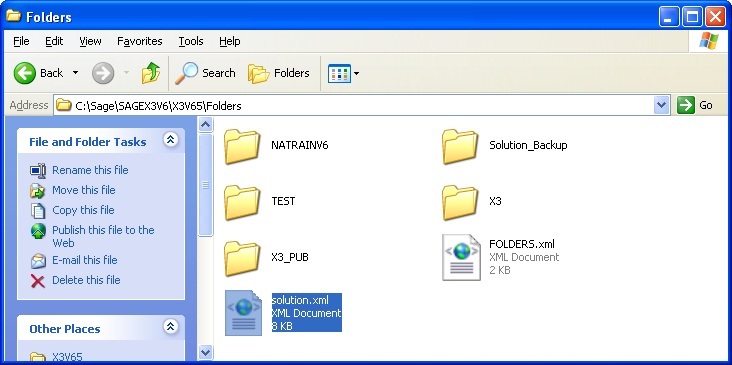
To update the sage x3 file first navigate to your X3 solution directory and locate the file “Solution.xml”. For e.g.: “C:\Sage\SAGEX3V6\X3V65\Folders” Make a backup of this file. Edit the “solution.xml” with Notepad, Text Pad or Notepad++ etc. Use the Search and Replace function to find all instances of the old server name and replace it with the new server name. Save changes after all instances have been replaced.
New Stuff: Create Web Service Pool for Integration with Sage X3
- Update the X3 Console configuration file
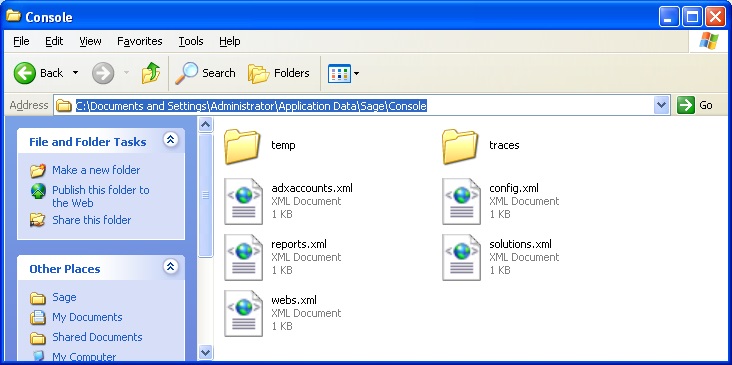
All the Sage X3 Console configuration files are stored in the user folder directory i.e. “C:\Documents and Settings \(user-name)\ Application Data\Sage\Console”.
Backup all the files from the Console directory. Then edit each console configuration .xml file with Notepad, Text Pad or Notepad++ etc. Use the Search and Replace function to find all instances of the old server name and replace it with the new server name. Save changes after all instances have been replaced.
- Restart Sage X3 Services
After the configuration of x3 files you need to Start all the services which was stopped in Step 2.
- Delete Old Sage X3 solution
To delete the old sage x3 solution need to follow below steps:
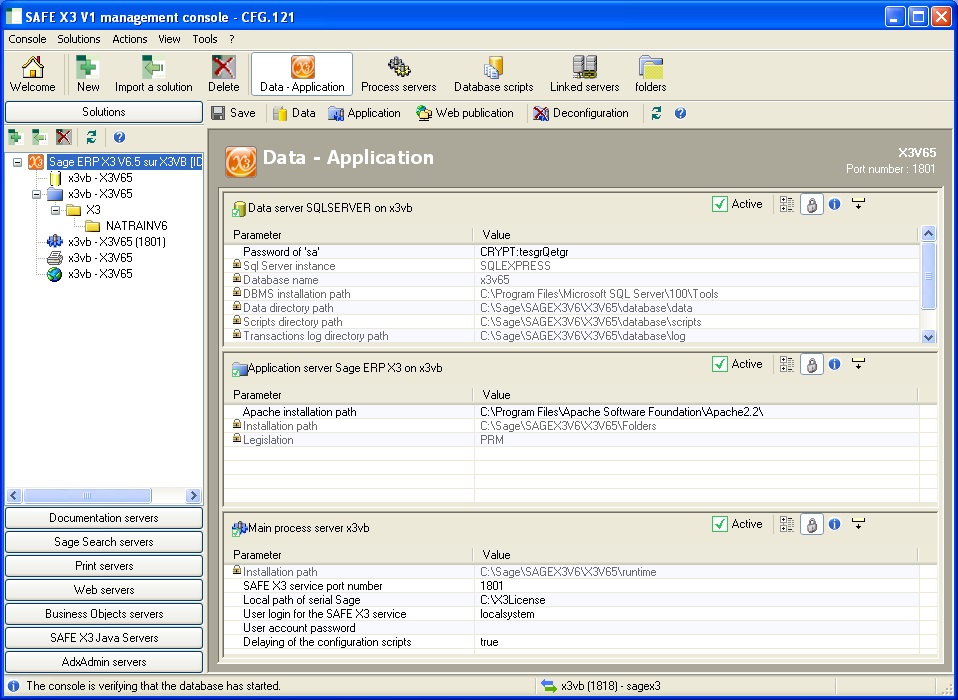
1- Start X3 Management Console.
2- Go to Solutions and select the old solution and click on delete icon to remove the solution.
- Re-import Solution using a new server name
After the old solution has been deleted, click on the “Import a Solution” button on the menu bar.
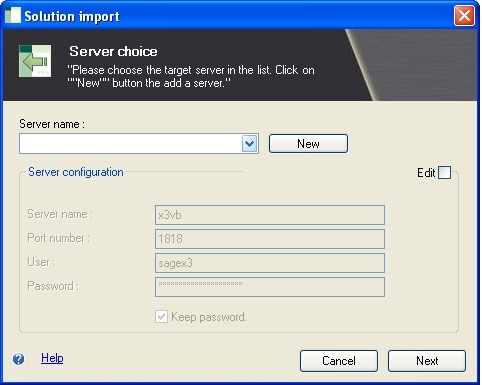
after click on “Import a Solution” button you will get a new window prompting for the Solution name and details.
Here follow the same steps as described in the installation instructions guide of Sage X3 solution configuration.
After you save the solution configuration, Sage X3 console will validate the configuration settings. Update the configuration settings as suggested by the Sage X3 console and save the changes.
That’s it, here you go. This is how you can reconfigure Sage x3 solution after changing of computer Name/Domain.
