Acumatica is a robust cloud-based ERP system renowned for its flexibility and extensibility, empowering businesses to customize the software according to their unique requirements through various customization options. Among the most versatile tools available is adding custom fields of various types. In this blog post, we will guide you through the steps of creating and utilizing a custom Weblink Field in Acumatica using the Customization Editor.
The Weblink field is a special type of field in Acumatica that stores a web address. When clicked, it redirects the user to the stored website. This feature can be incredibly useful for storing and easily accessing relevant web resources directly from your Acumatica records.
Adding a PXDBWeblink field involves the following steps:
- Create a Custom Field: Start by creating a custom field in Acumatica and publish the customization.
- Add the Field to the Screen: Once the custom field is created, add it to the desired screen.
- Change the Field Type: In the data class, change the field type from PXDBString (256) to PXDBWeblink.

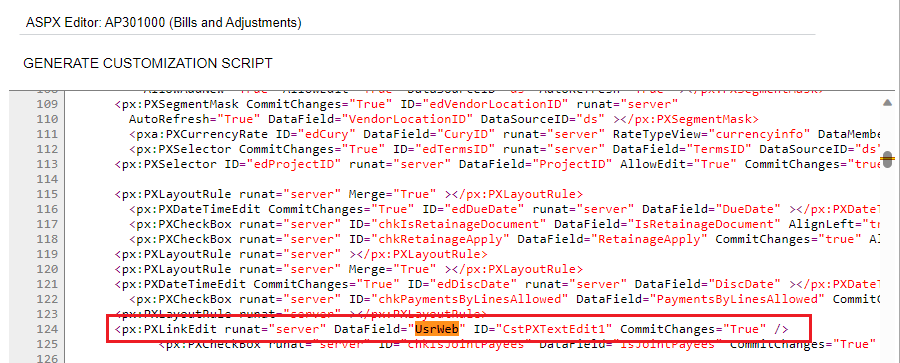
To ensure that your PXDBWeblink field works correctly, you’ll need to make a small change in your aspx file if it’s not automatically added to the Aspx file of the screen. Specifically, change PXTextEdit to PXLinkEdit. Here’s an example of how this change might look:

This change ensures that your field behaves as a clickable link rather than a simple text input.
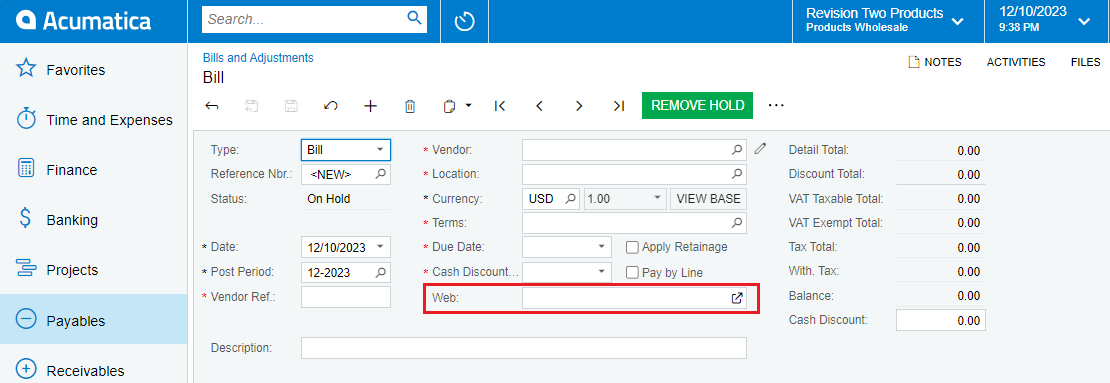
Please refer screenshot below where Custom Field added on Bills and Adjustment screen:


