Acumatica’s powerful ERP platform offers a wide range of tools to help businesses manage and analyze their data effectively. One such tool is the ability to import records using Excel files, facilitated by the “Upload” action feature. While importing records via import scenarios is a known process, it requires mapping fields to Acumatica fields and implementing logic for handling multiple records. However, another useful feature is the “Upload” option at the grid level, which enhances usability and efficiency. In this blog post, we’ll explore how to enable this functionality on screens where it may be missing, empowering users to seamlessly import data directly into their Acumatica grids.
In this blog post, we will add the Upload action on the Equipment tab of the Projects (PM301000) screen. However, you can use the methods described below for any grid in Acumatica.
Step-by-Step Guide to Using the Upload Action:
Let’s walk through the process of configuring and using the Upload Action in Acumatica:
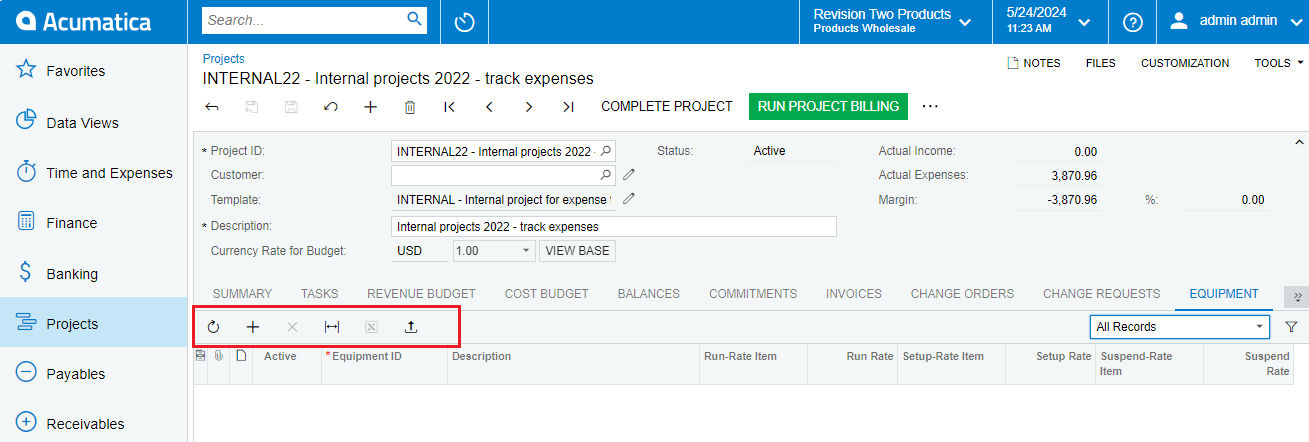
1. Navigate to the Equipment tab of the Project Screen:
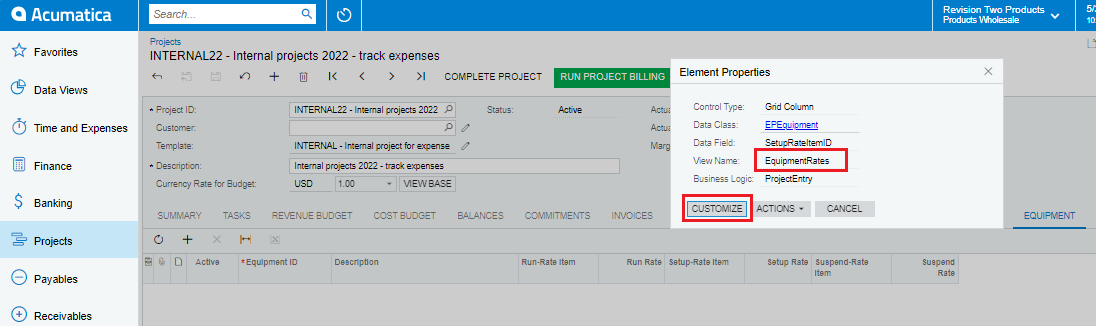
- Inspect the grid to get the view name.
- Notice that there is no upload action currently present.

2. Go to the Customization Project Editor Screen:
- Create a new project.
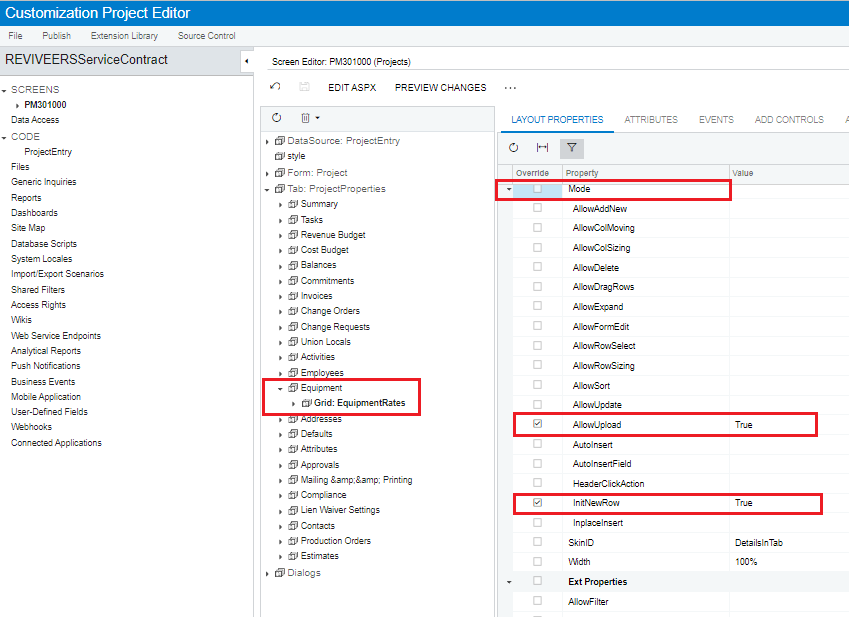
3. Navigate to the Equipment Rates Tab:
- On the Customization Project Editor, click on the grid of the EquipmentRates grid.
- Under the Layout Properties section, navigate to Mode.
- Expand Mode and set the `AllowUpload` and `InitNewRow` properties to True (refer to the attached screenshot).
- Publish the customization project. You will see the Upload Action on the Equipment tab grid, but it is disabled.
4. Enable the Upload Action:
- Check whether the view used on the graph has a `[PXImport]` attribute.
- If not, add the attribute to the view by creating an extension of the current graph.
- Search for the view definition in the base graph, copy, and paste it into the extension code file.
- Add the `[PXImport(typeof(EPEquipmentRate))]` attribute above the view (refer to the attached screenshot).

5. Publish the Customization Package:
- After publishing, you will see the Upload action enabled on the Equipment tab.