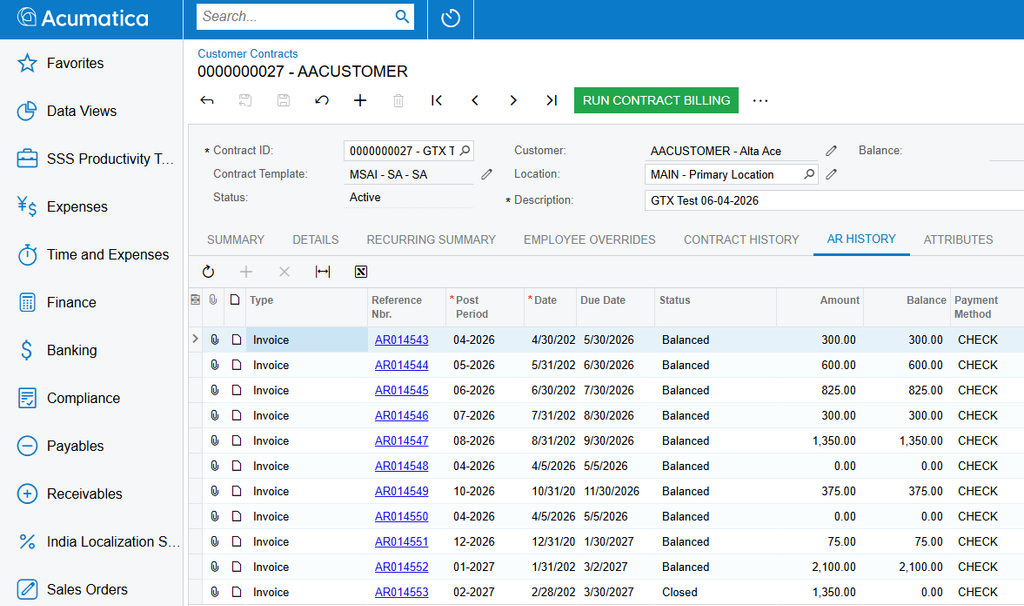
This guide walks through the steps required to generate an invoice from activities, from setting up the contract template to viewing the finished invoice in AR History.
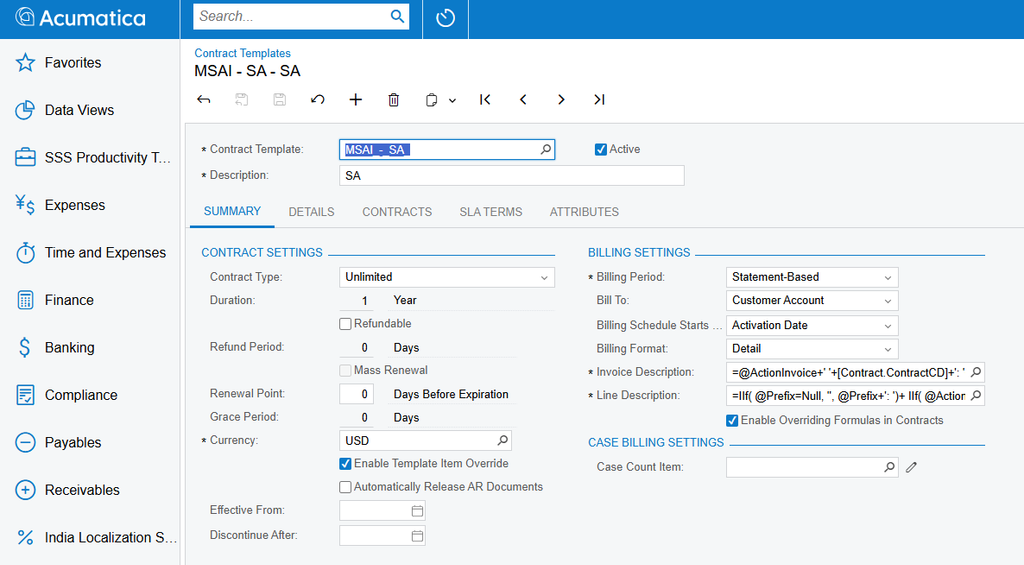
First, open the “Contract Templates” screen and create a new template, selecting the “Detail” option from the billing format drop-down. Next, go to the Customer Contract screen and select the newly created template in the contract template option. Make sure the customer contract status is set to active.
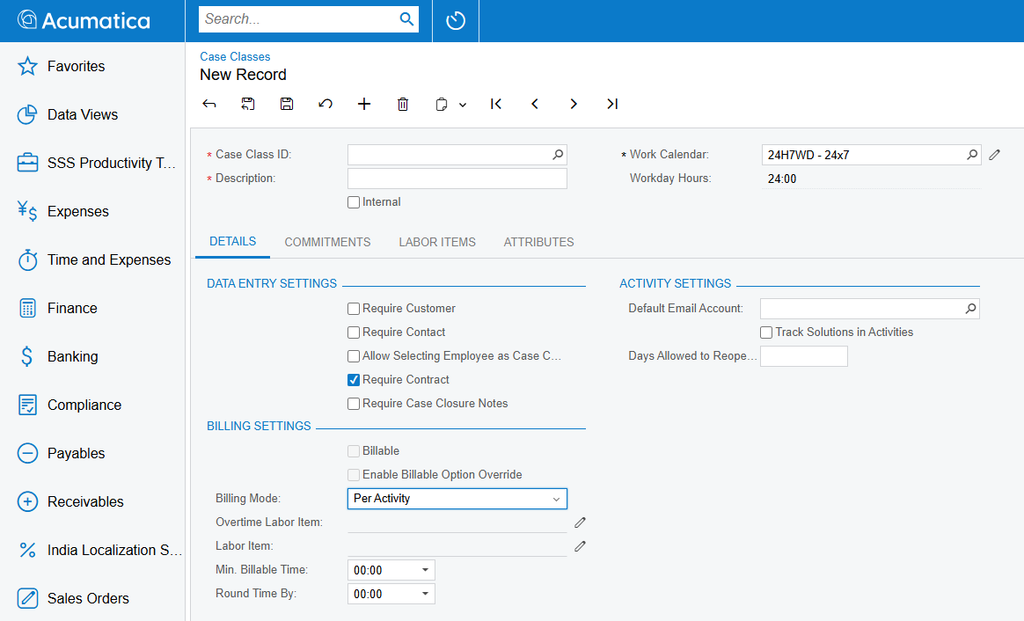
Open the “Case Classes” screen and fill in the required details, making sure the billing mode is set to “Per Activity.”
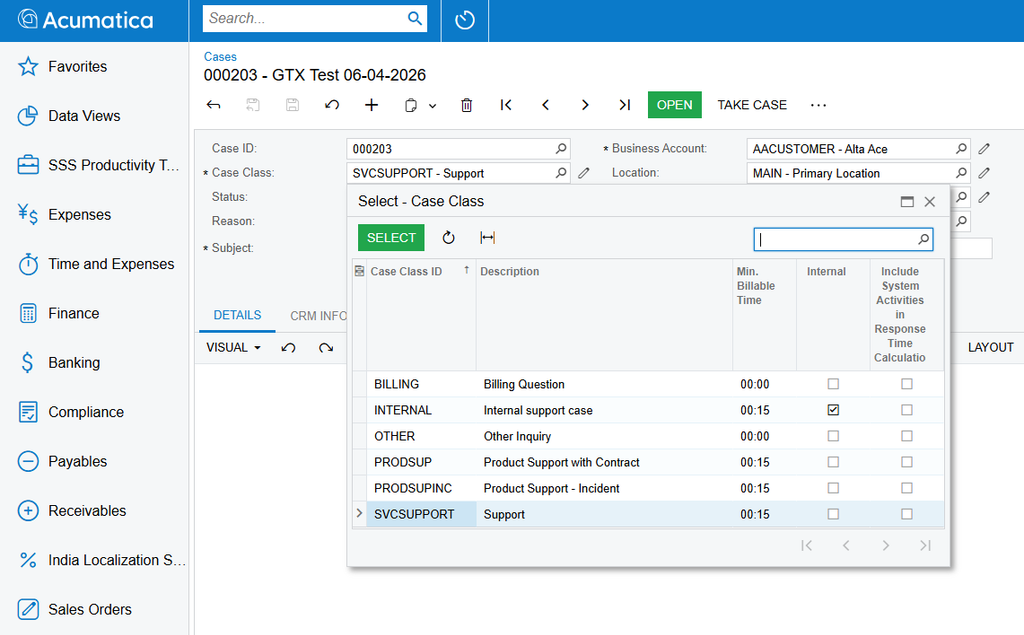
On the “Cases” screen, create a new case and select the case class you created in the earlier step.
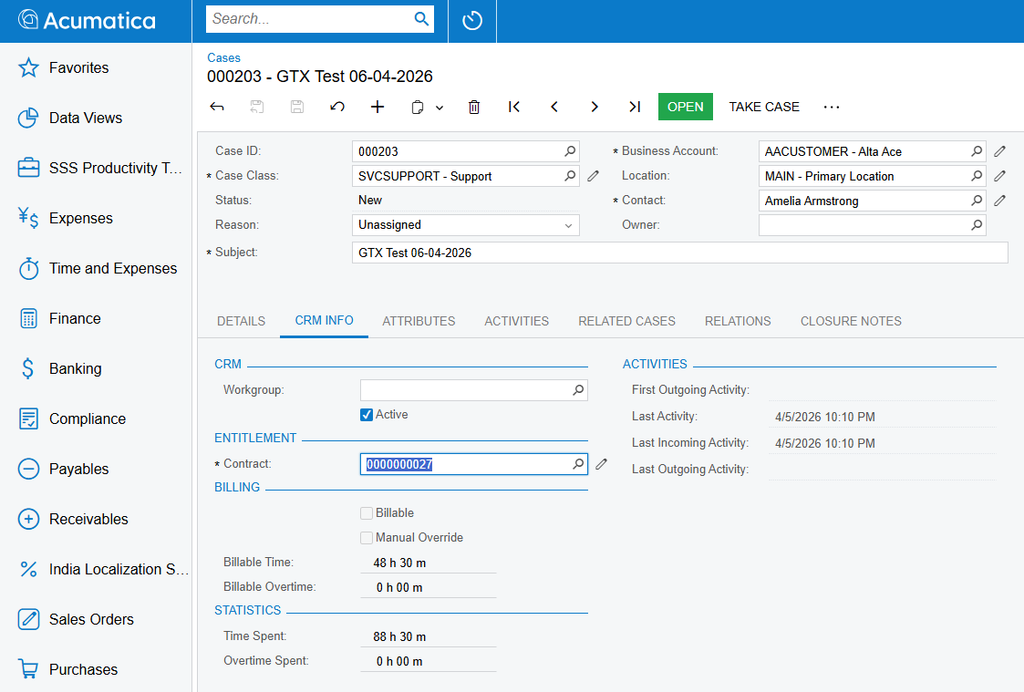
Next, go to the CRM Info tab on the same Cases screen, select the contract you created earlier, and click Save.
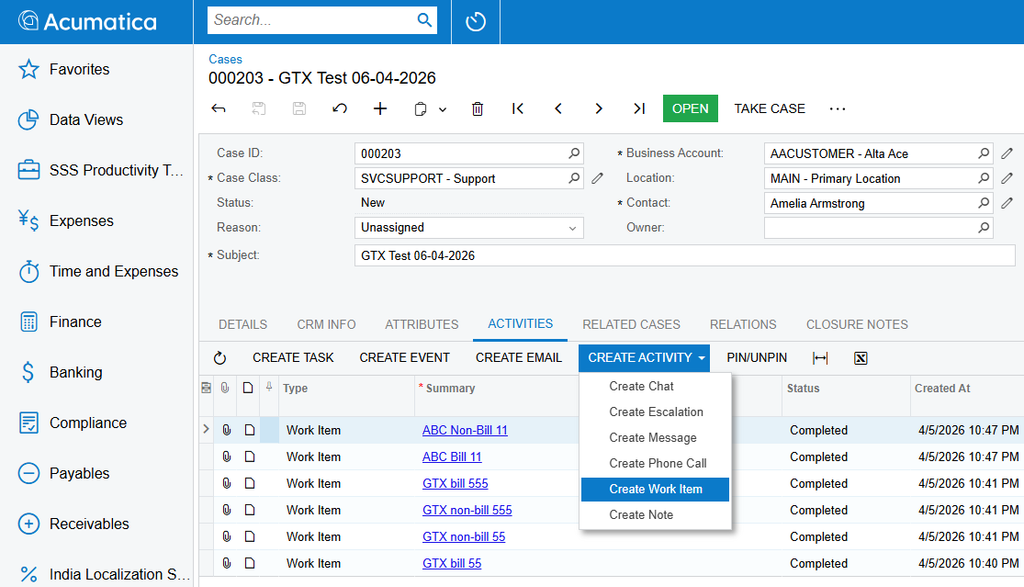
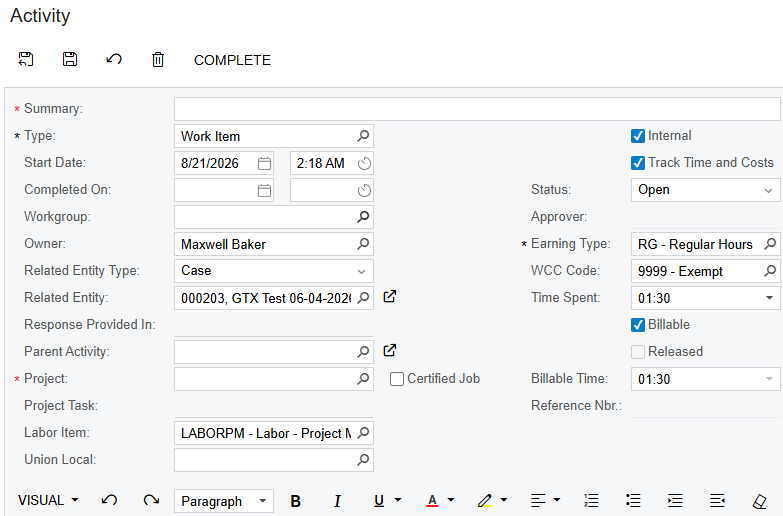
Once the contract ID is entered, go to the Activities tab and select the “Create Activity” and “Create Work Item” options. Fill in the required details, making sure to select the Billable checkbox and enter the time spent and billable time, then save once done.
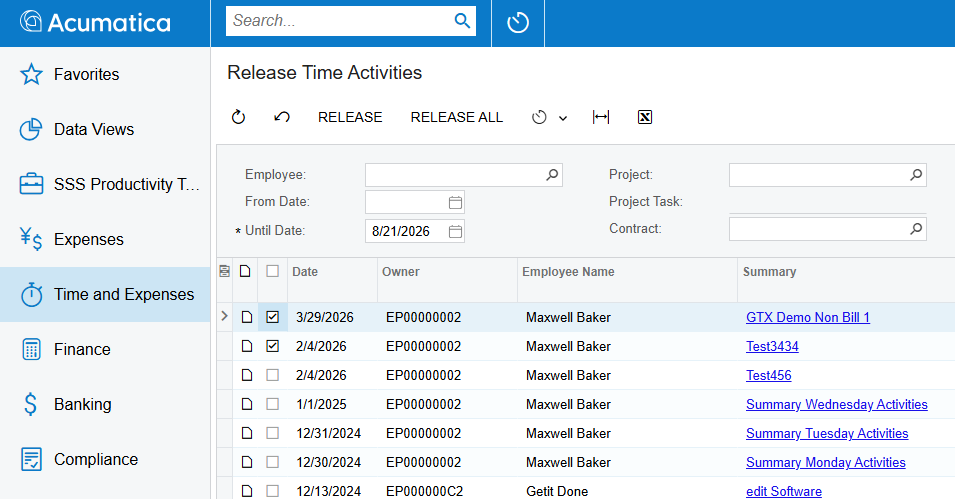
Next, go to the “Release Time Activities” screen. Newly created activities appear at the top of the table, and you can check the Summary column to confirm the activity names. Once confirmed, click the Release button.
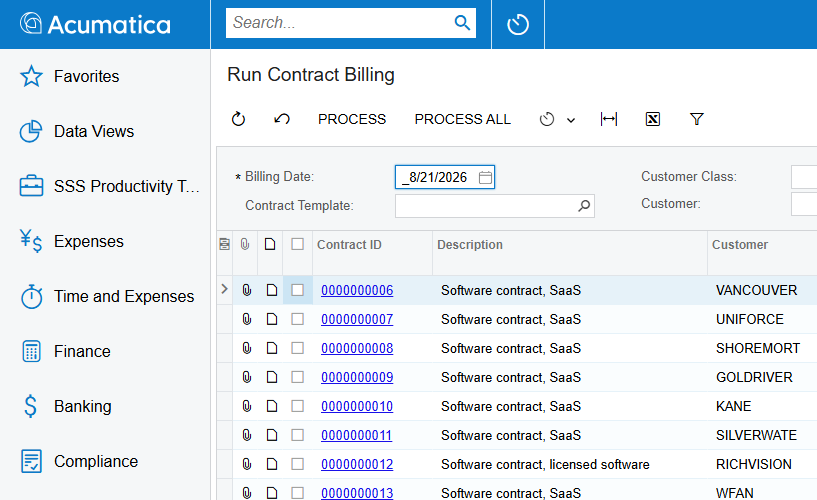
Run Contract Billing screen: Use this screen to process multiple contract IDs at once. The billing date parameter comes from the Customer Contract screen’s Summary tab – check the “Next Billing Date” field in the billing schedule.
To process a single contract ID, simply go to the Customer Contract screen and click the “Run Contract Billing” button.
On the Customer Contract screen, go to the “AR History” tab to see the newly created invoice.