In this blog, we will see how to configure the Launch Pad in Salesforce. As Launch Pad is a standard Lightning Component which you can add to any Lightning page. They create a shortcut to important places for users. You can add any items that have tabs associated with them—standard and custom objects, Lightning web components, Lightning pages, Visualforce pages, and external websites.
The Launchpad component is available for all the three kind of pages in Lightning Experience: –
- Home Page
- App Page
- Record Page
Launchpad component for Record Page
Follow the below steps to setup the component for Record Page type:
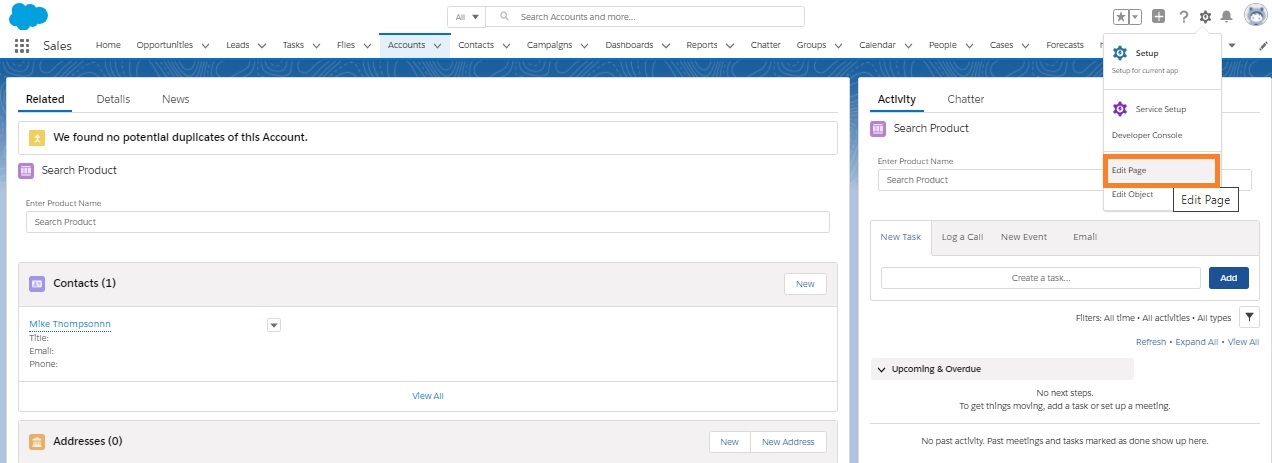
- Click on “Gear” icon and then click on “Edit Page”
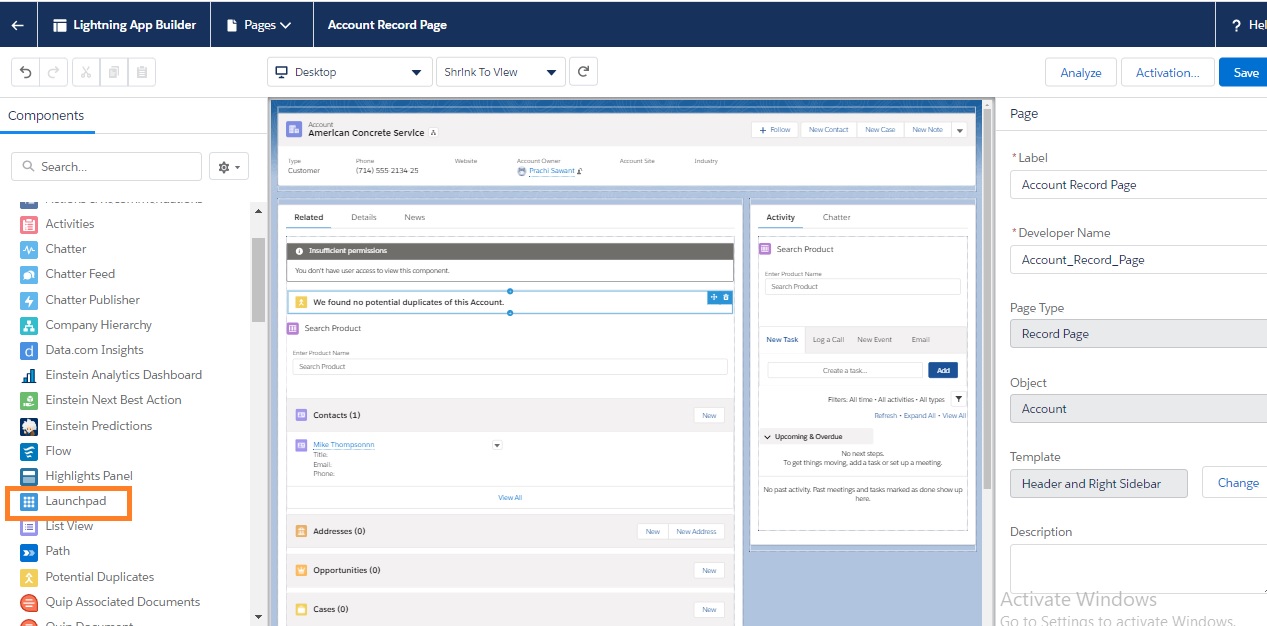
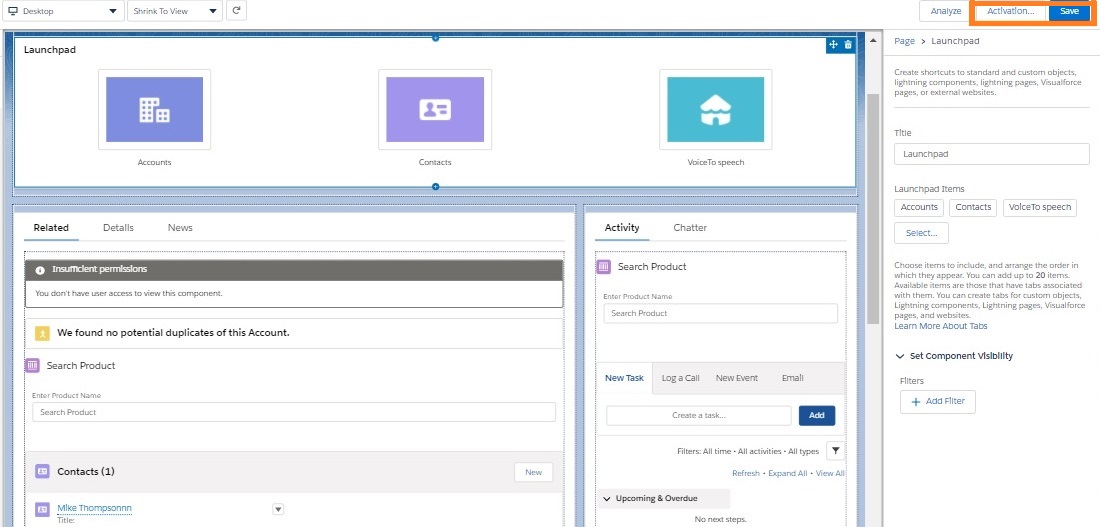
- Firstly, drag the Launchpad component from standard component and add on the canvas.
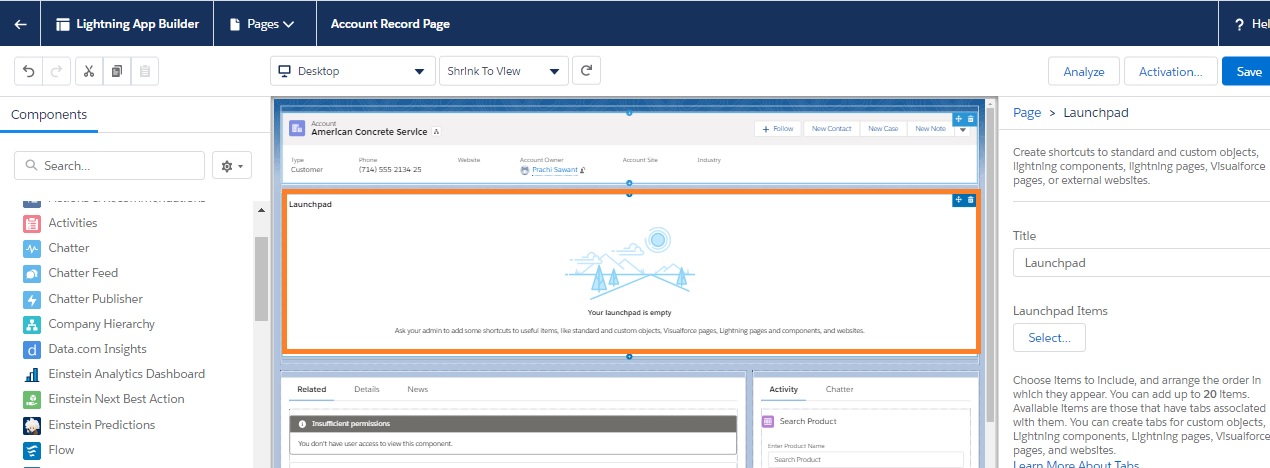
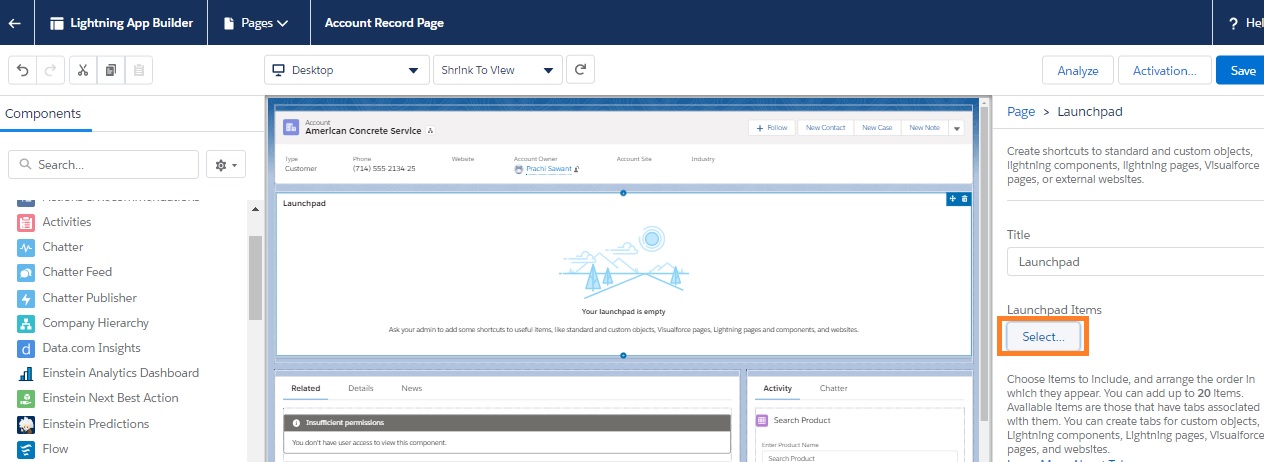
- Secondly, in properties pane, click on “select” button.
- Thirdly, add navigation items.
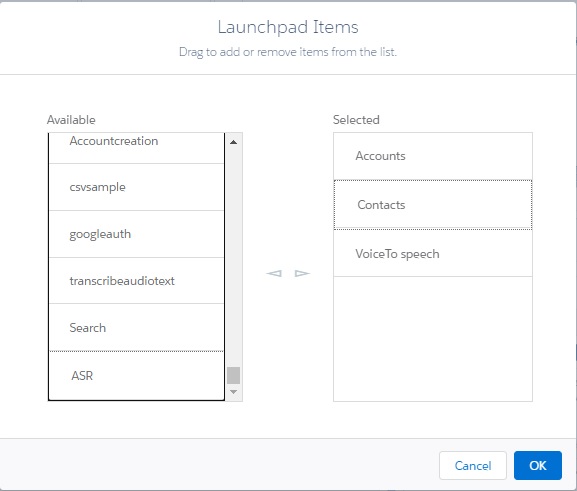
- Click on “OK” button to save the list.
- After that, click on “Activation” button, to activate the LaunchPad component.
- Finally, click on “Save” button to save the layout.
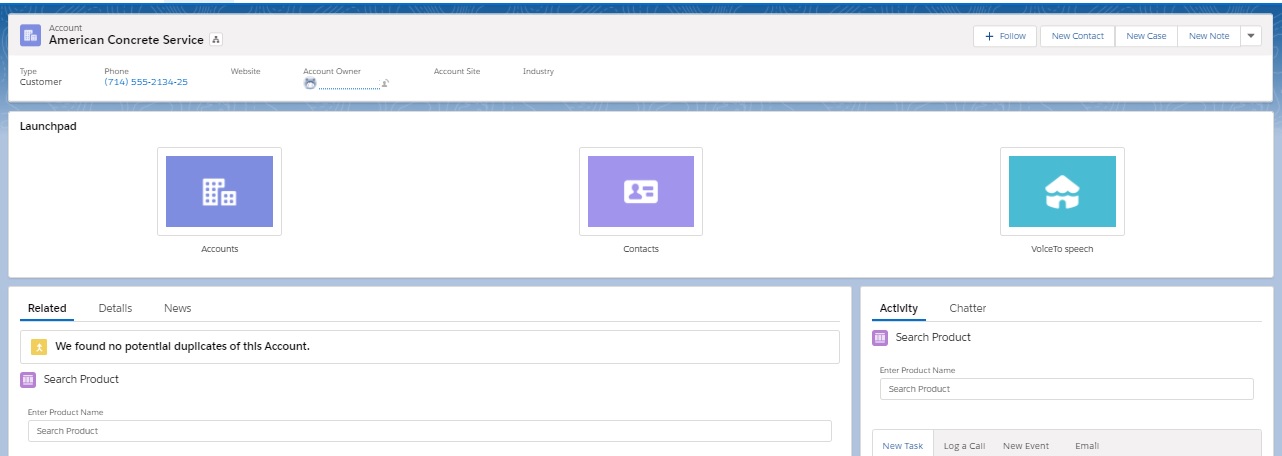
Once saved, you will now view the Launch Pad. Please see the below screenshot.
Launchpad for Home page
In the similar way, you have to follow the same steps to add a LaunchPad Component for Home Page.
- On your desktop, navigate to the Lightning page that you want to add a launchpad to.
- Click the Setup gear icon, then click Edit Page.
- Meanwhile, from the list of standard Lightning web components, find Launchpad and drop it into the desired spot on the page.
- In addition, enter a custom title for your launchpad or keep the default.
- Finally, click Select… under Launchpad Items.
- From the list of available items, drag and drop at least one item into the Selected list
- Click OK.
- After that, Select an item from the list to view and edit the details.
- Similarly, add any component visibility filters that you want.
- Subsequently, click Save | Activate | Assign as Org Default | Desktop and Phone | Save.
- In conclusion, click Back to view your changes on desktop
We hope you may find this blog resourceful and helpful. If you still have concerns and need more help, please contact us at salesforce@greytrix.com.
About Us
Greytrix – a globally recognized and one of the oldest Sage Development Partner and a Salesforce Product development partner offers a wide variety of integration products and services to the end users as well as to the Partners and Sage PSG across the globe. We offer Consultation, Configuration, Training and support services in out-of-the-box functionality as well as customizations to incorporate custom business rules and functionalities that require apex code incorporation into the Salesforce platform.
Greytrix has some unique solutions for Cloud CRM such as Salesforce Sage integration for Sage X3, Sage 100 and Sage 300 (Sage Accpac). We also offer best-in-class Cloud CRM Salesforce customization and development services along with services such as Salesforce Data Migration, Integrated App development, Custom App development and Technical Support business partners and end users. Salesforce Cloud CRM integration offered by Greytrix works with Lightning web components and supports standard opportunity workflow. Greytrix GUMU™ integration for Sage ERP – Salesforce is a 5-star rated app listed on Salesforce AppExchange.
The GUMU™ Cloud framework by Greytrix forms the backbone of cloud integrations that are managed in real-time for processing and execution of application programs at the click of a button.
For more information on our Salesforce products and services, contact us at salesforce@greytrix.com. We will be glad to assist you.
Related Posts