Acumatica offers built-in functionality that allows users to change the language settings within the platform, making it easy to localize Acumatica to any other language. With support for different languages, navigating Acumatica becomes seamless. The language translation feature greatly improves user experience, making the platform more accessible and user-friendly for a diverse global audience.
Users have the flexibility to customize language settings for specific screens, enabling a targeted approach to localization. Acumatica’s strong localization capabilities make it an excellent option for businesses seeking quick and efficient language adaptation during global expansion.
In this blog, we will explore the details of language translation in Acumatica, providing valuable insights into the process and sharing practical steps to redefine display names.
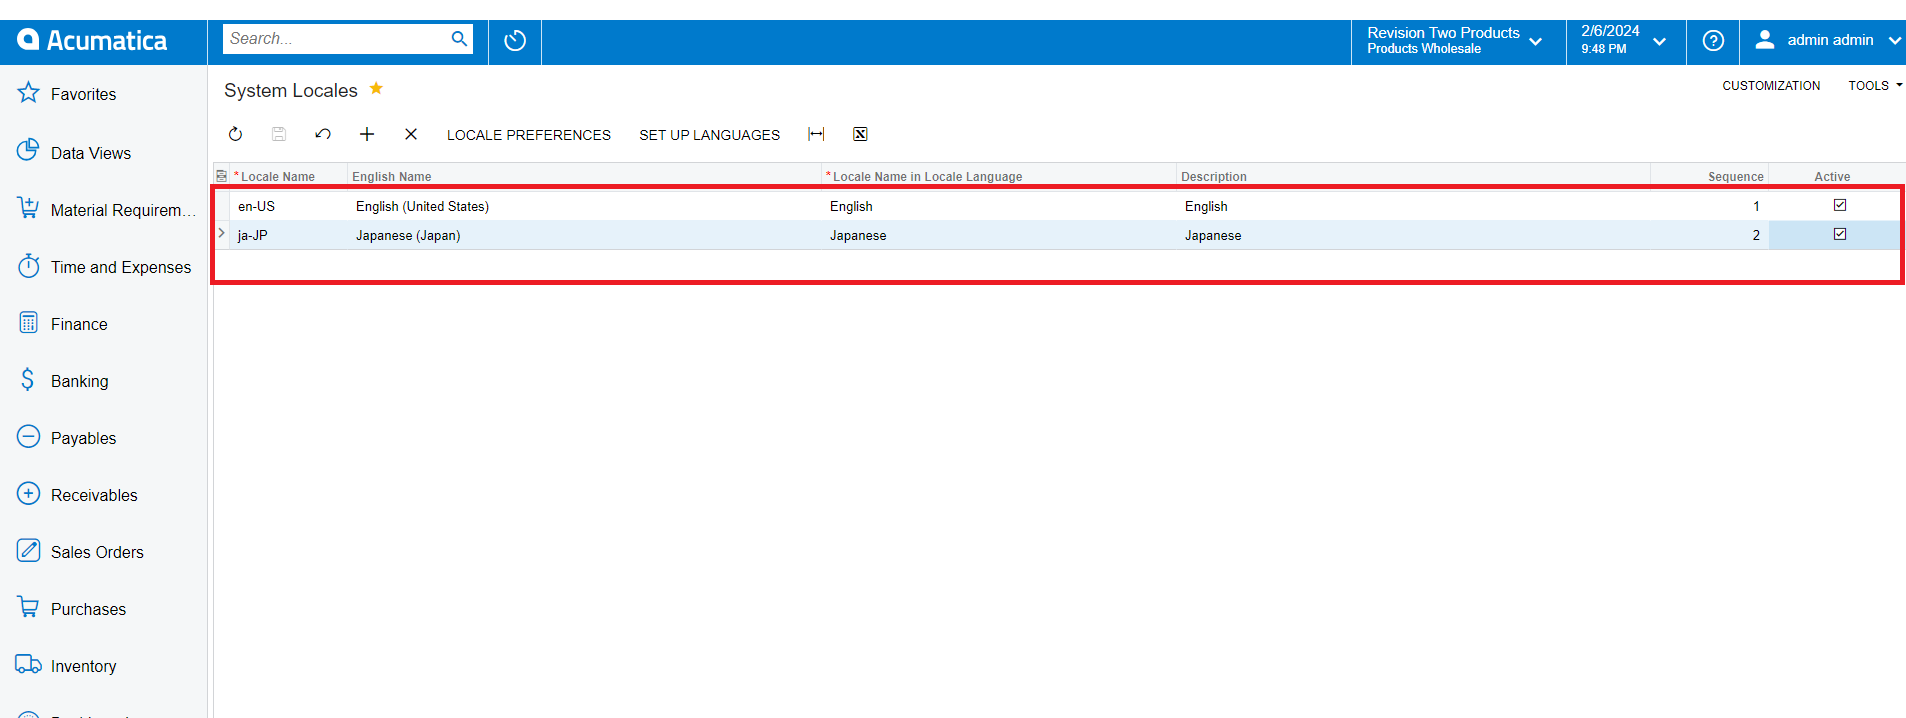
Step 1: Set Up System Locale
- Open the “System Locales” screen (SM200550).
- Click on the “Add” button.
- Select the desired locale name from the selector.
- Provide a display name.
- Click the “Active” checkbox and save.
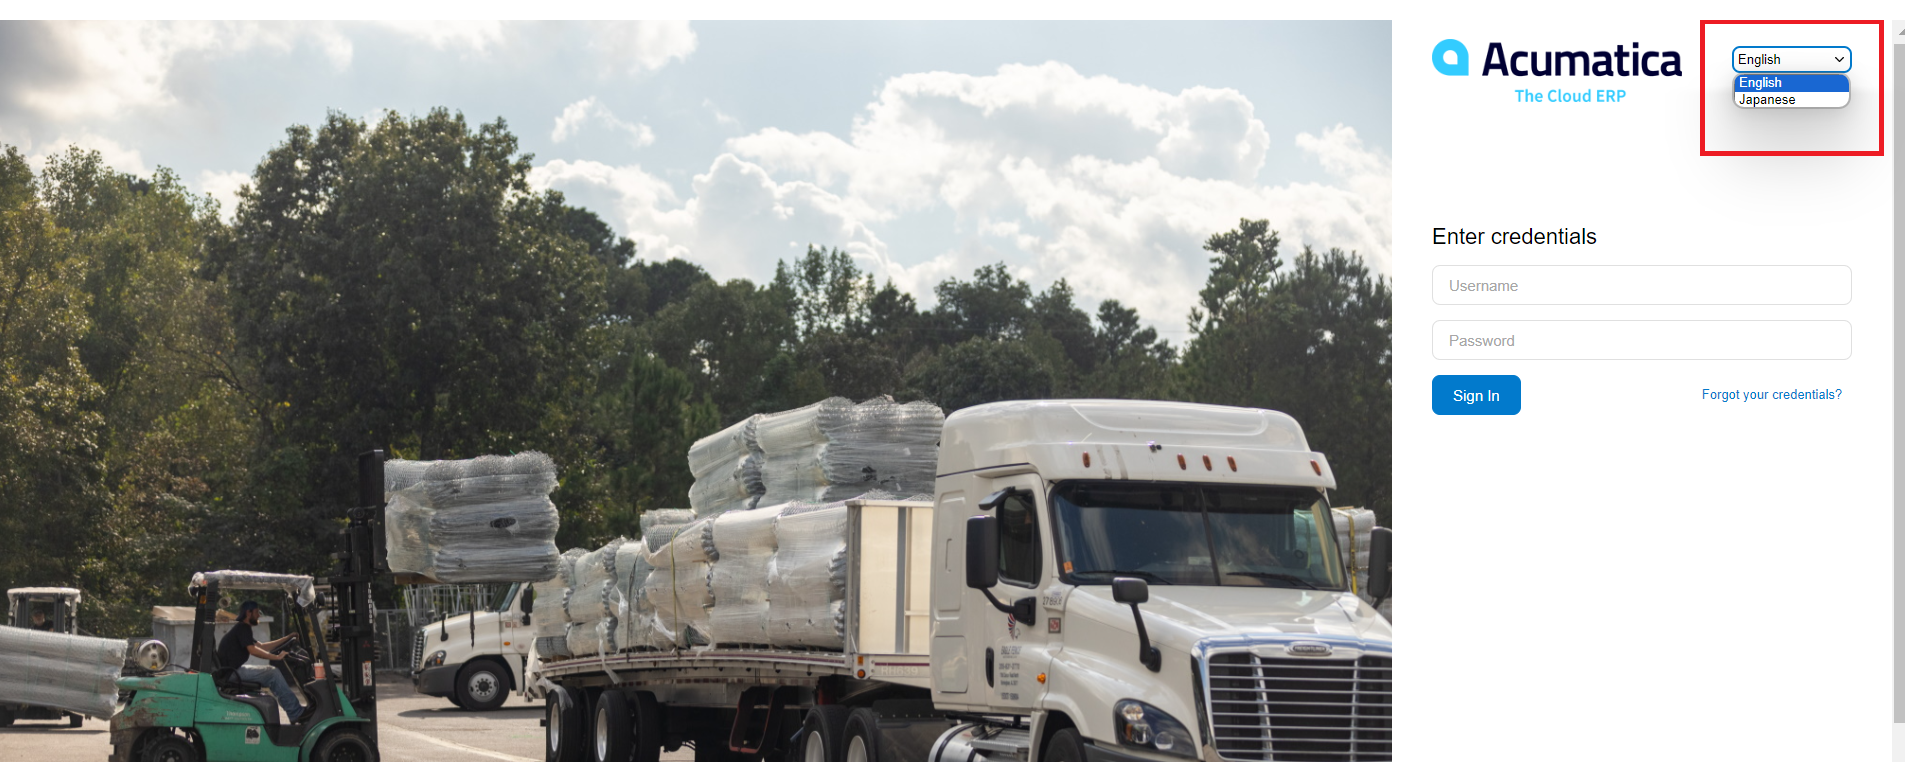
After activation, the login page will display language selection options. Choose your preferred language and log in to Acumatica.
In the System Locales settings, the “Locale preference” section displays the date and time representation, while the “Set up language” option indicates the language in which fields and descriptions will be displayed. This feature is referred to as “Multi-Lingual Fields.
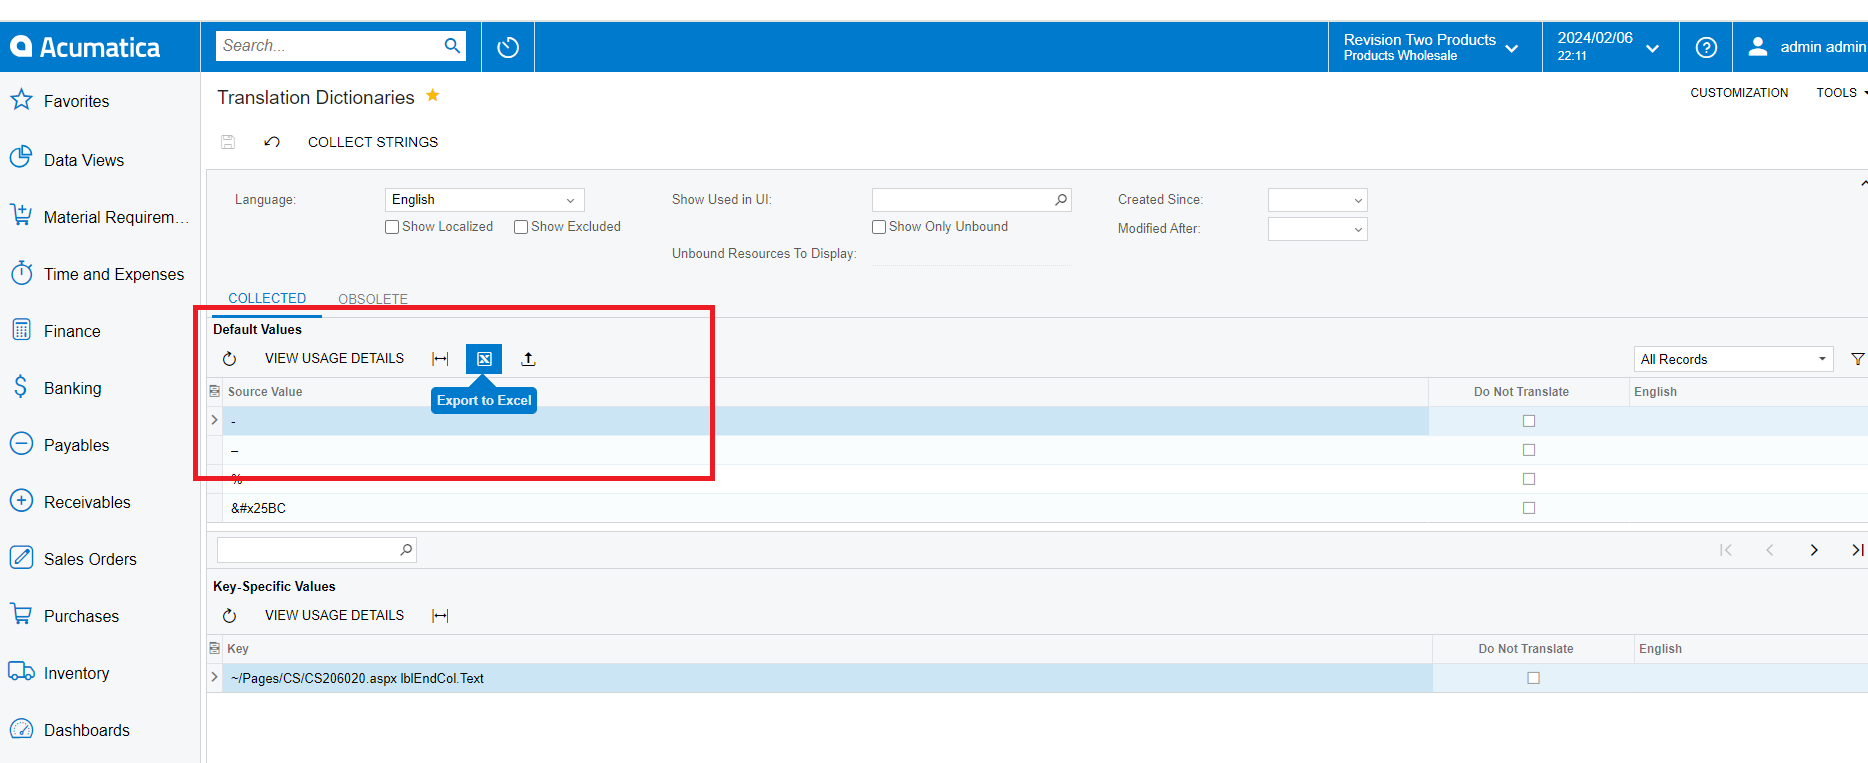
Step 2: String Collection and Translation
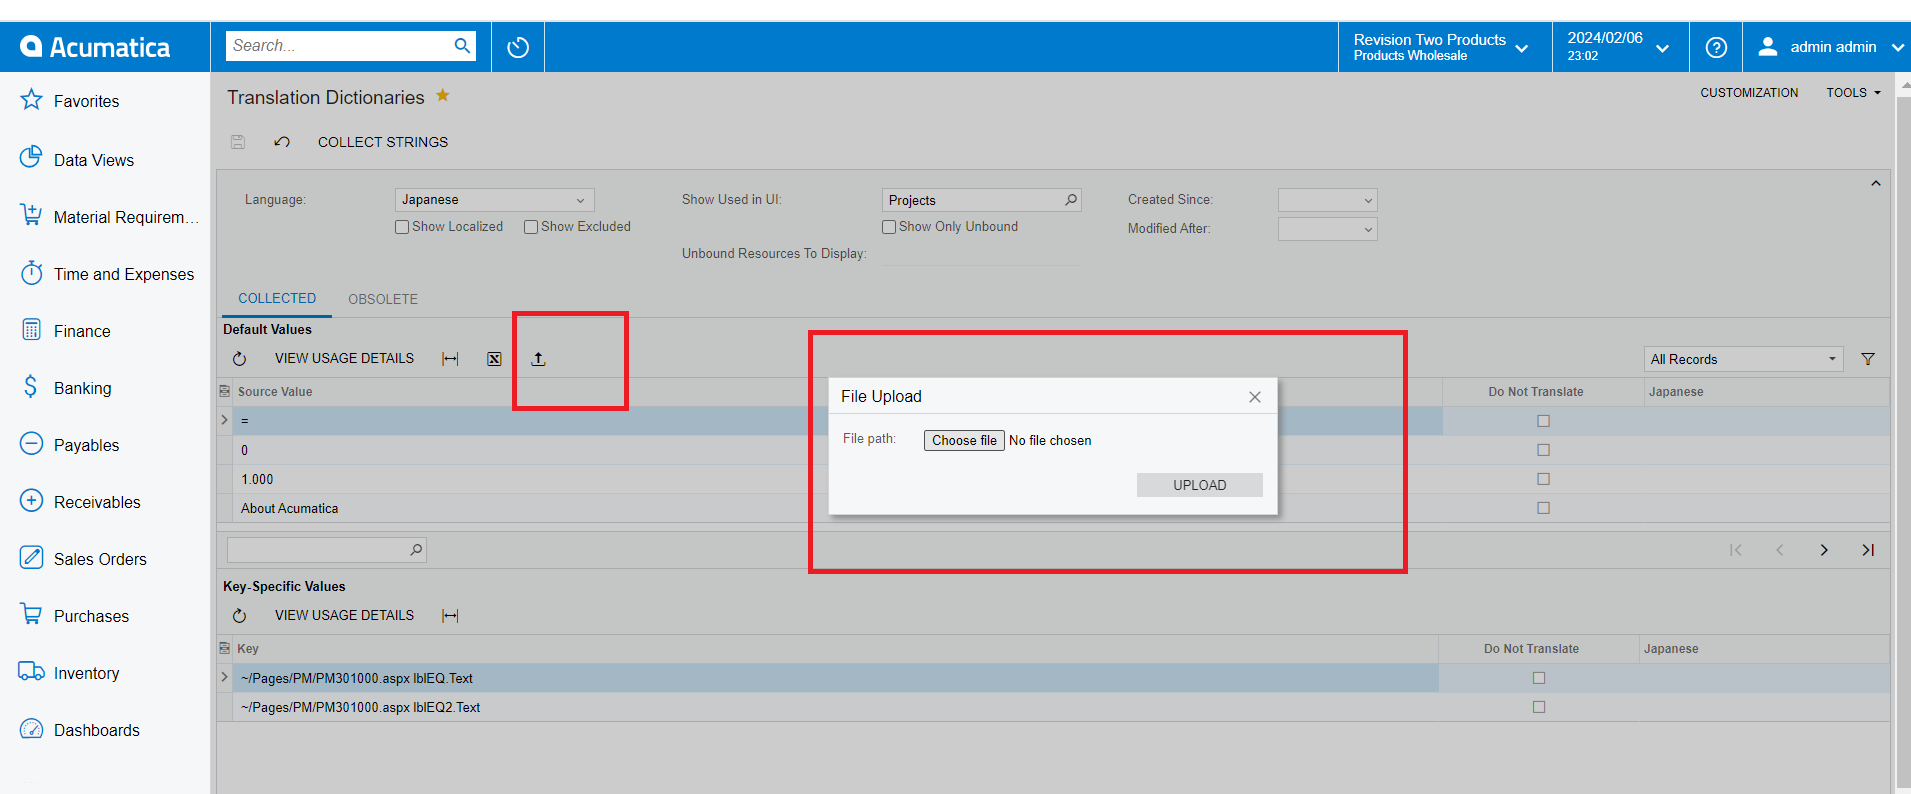
1. Open the “Translation Dictionaries” screen (SM200540).
2. Choose the target language.
Use the “Show Used to UI” option to select specific screens for language change.
Export an Excel file from the collected tab to view all words used in Acumatica.
Add the sentences and words you wish to change in the blank column dedicated to language modifications.
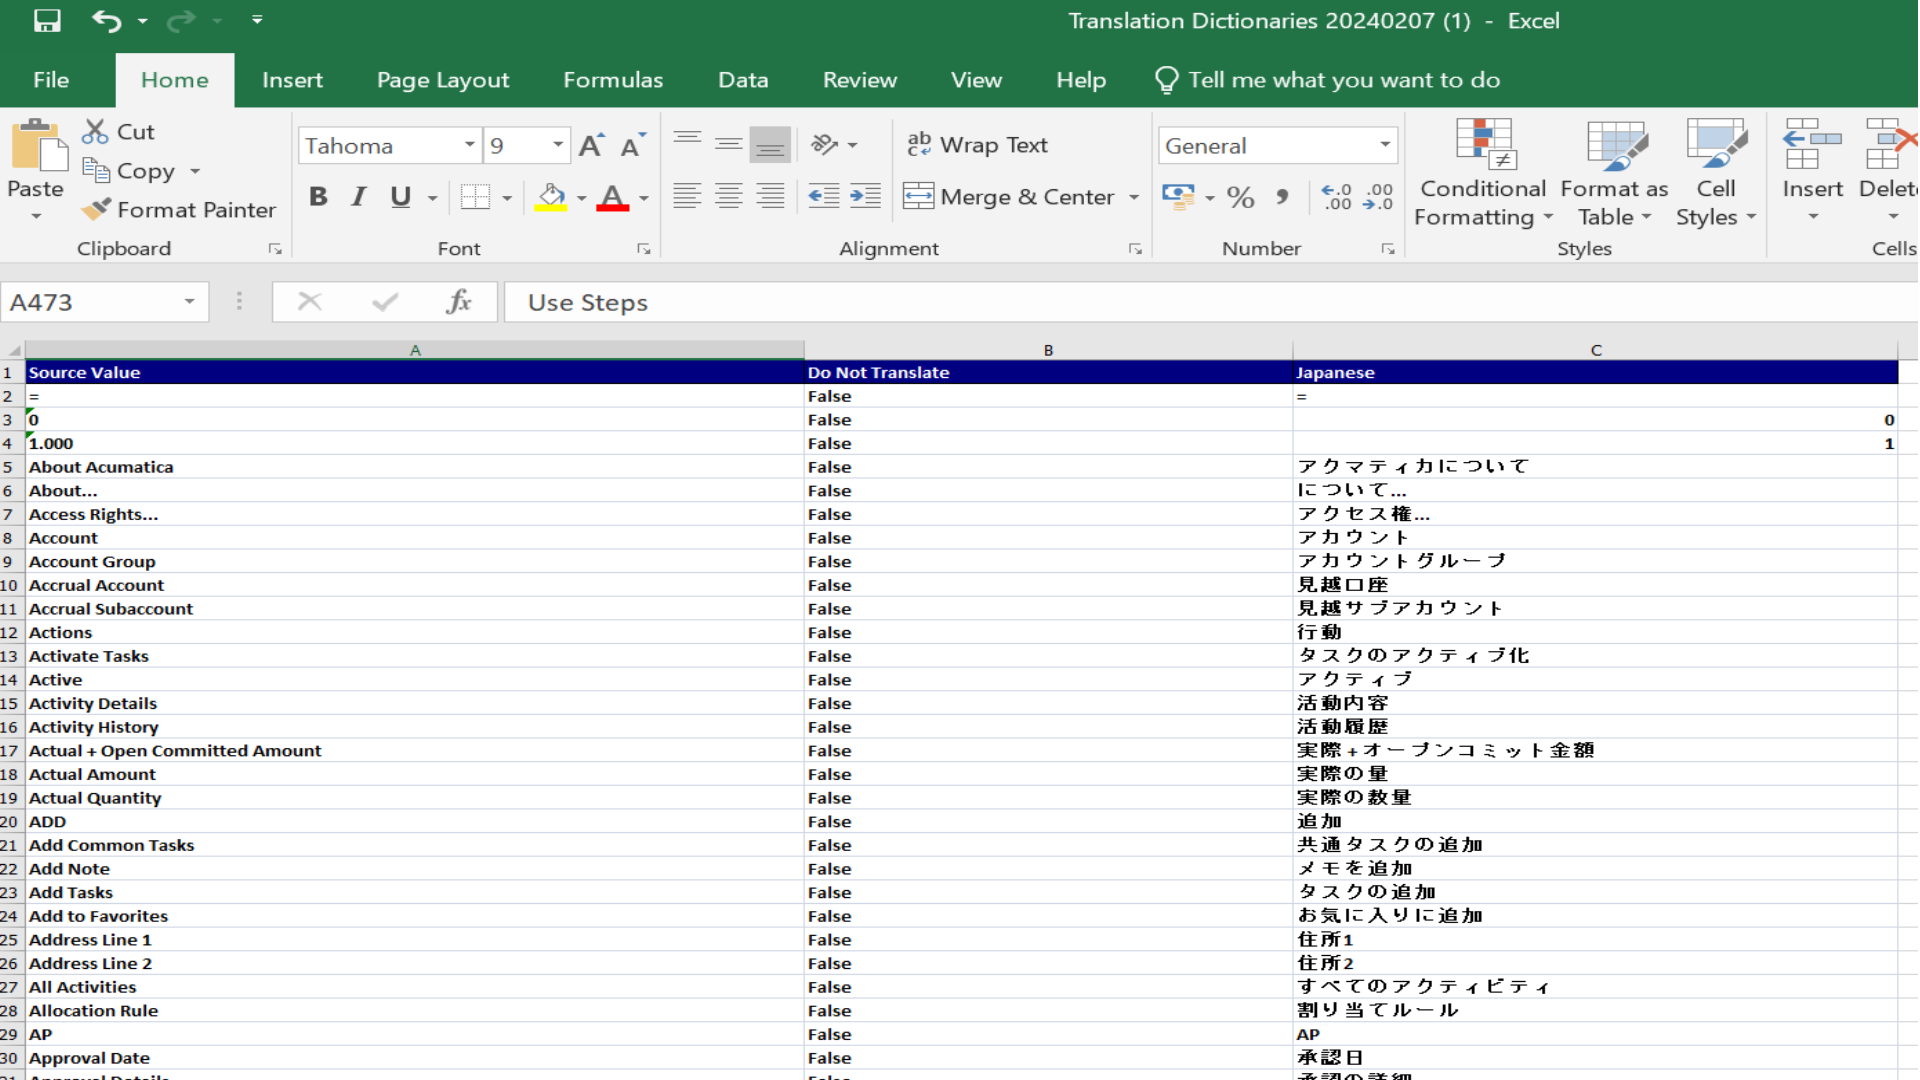
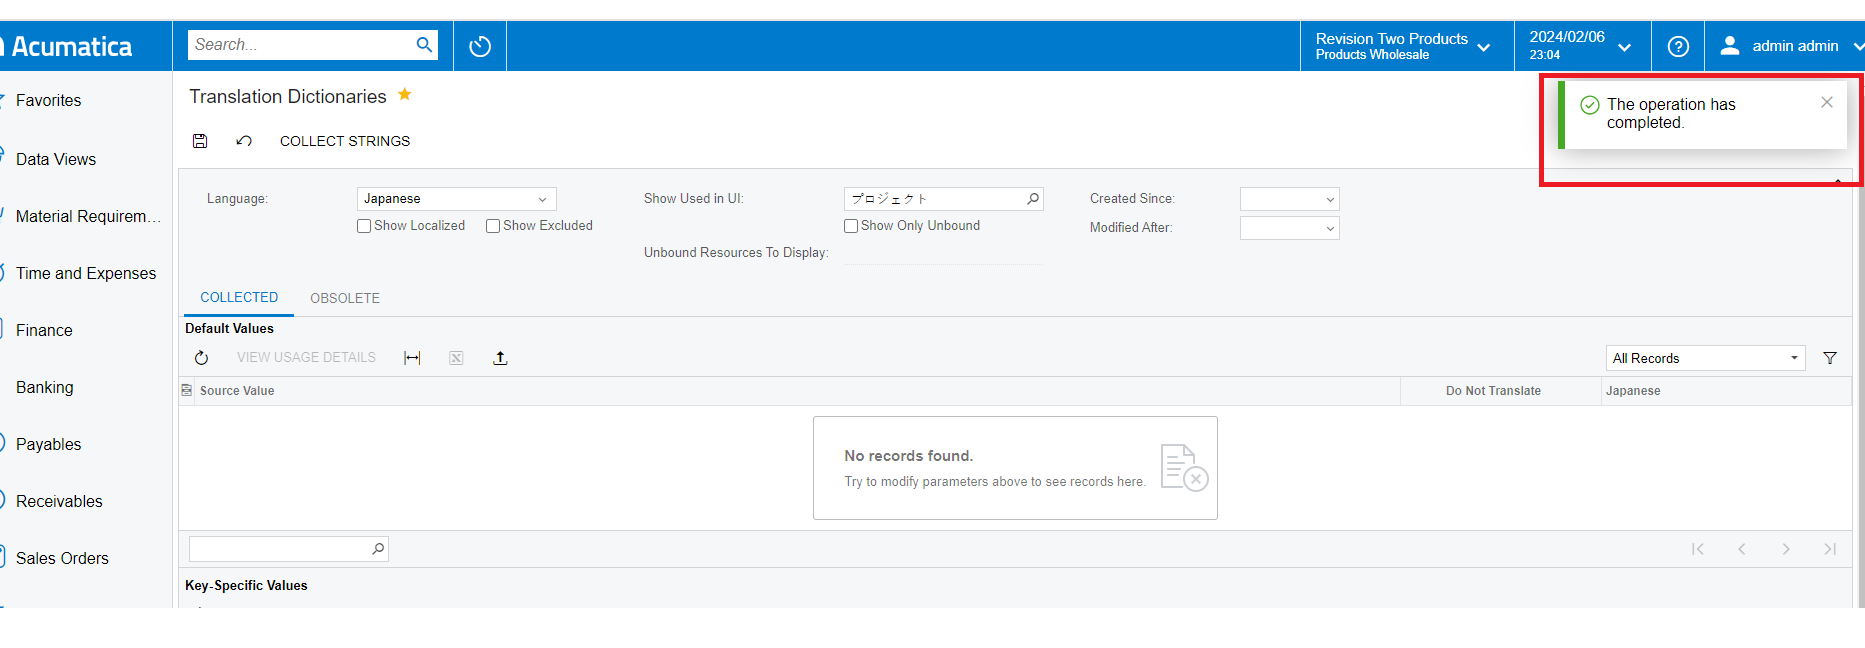
Upload the edited Excel file by clicking “Load Record File” on the screen.
Save the changes.
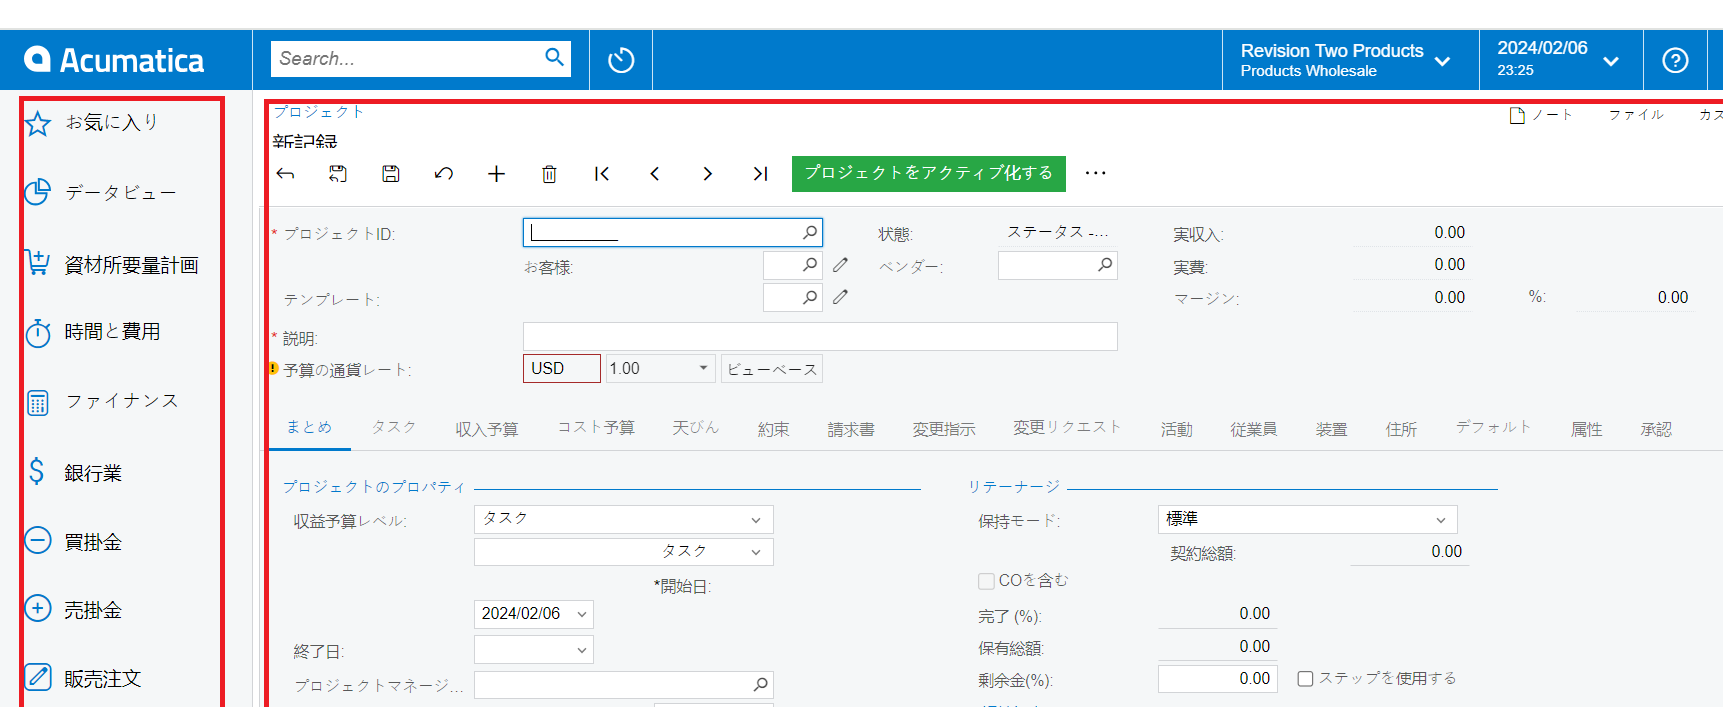
When you log back into Acumatica with the new locale, you’ll see a fully translated user interface. For instance, the project screen smoothly switches to Japanese, demonstrating how easy it is to change the language.
This blog simplifies the language and display name change process in Acumatica, offering a quick and effective solution. We hope this resource aids you in showcasing the localization capabilities of Acumatica.