Acumatica is a powerful cloud-based ERP system known for its flexibility and extensibility. It allows businesses to tailor the software to their unique needs through a variety of customization options. One of the most versatile tools at your disposal is the Acumatica Reports. In this blog post, we will take you through the process of creating and using a Reports in Acumatica using the Report Designer.
Acumatica’s powerful ERP platform offers a wide range of tools to help businesses manage and analyze their data effectively. One such tool is the Export as Report action feature within Generic Inquiry (GI). In this blog post, we’ll explore how this feature empowers users to streamline their data analysis workflows and generate insightful reports directly from their Acumatica data.
Before diving into the Export as Report action, let’s take a moment to understand what Generic Inquiries are and how they fit into the Acumatica ecosystem. Generic Inquiries are flexible query tools that allow users to retrieve and analyze data from various modules within Acumatica. With GIs, users can create custom data views, apply filters and conditions, and display results in grids or charts. While GIs enable users to export data to Excel files, there are instances where clients require data in specific formats, such as PDFs. This is where the Export as Report action comes into play.
Step-by-Step Guide to Using Export as Report Action:
Let’s walk through the process of configuring and using the Export as Report action within an Acumatica Generic Inquiry:
1. Navigate to the Generic Inquiry screen in Acumatica.
2. Open an existing GI or create a new one based on your data requirements.
3. Select the Export as Report action from the list of available actions.
4. Open the exported report file on Report Designer and save it to the server with any name we are using same name here.

4. Configure the report layout, including headers, footers, and column formatting.


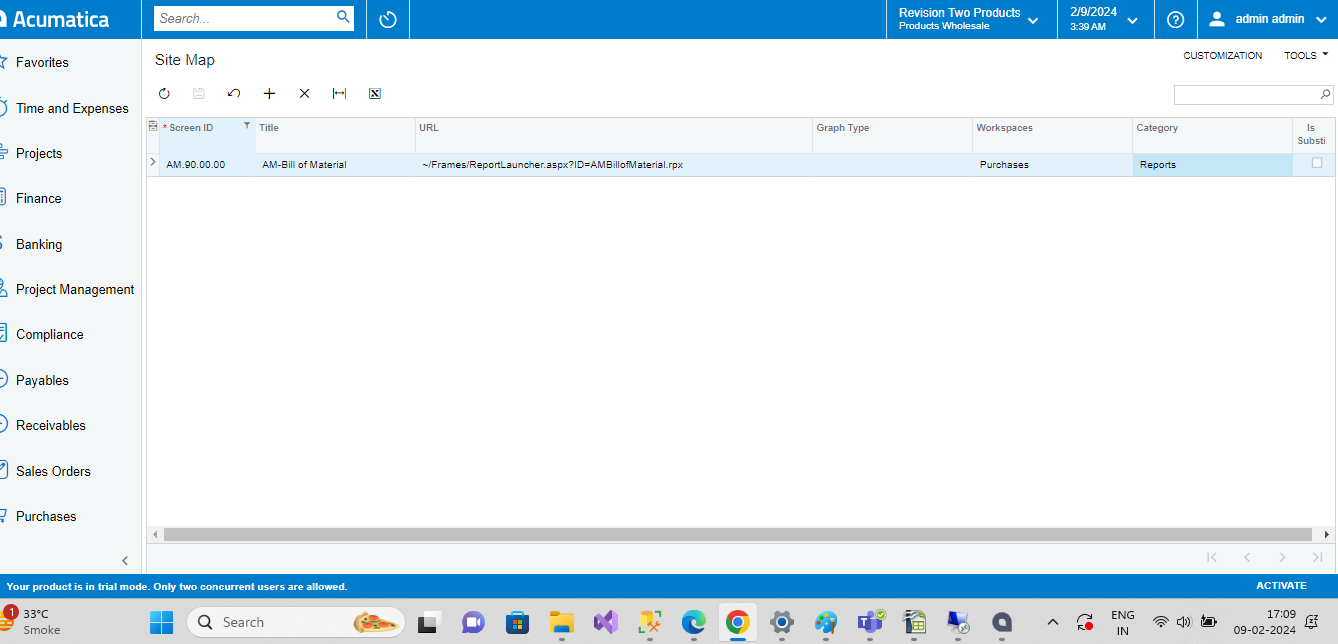
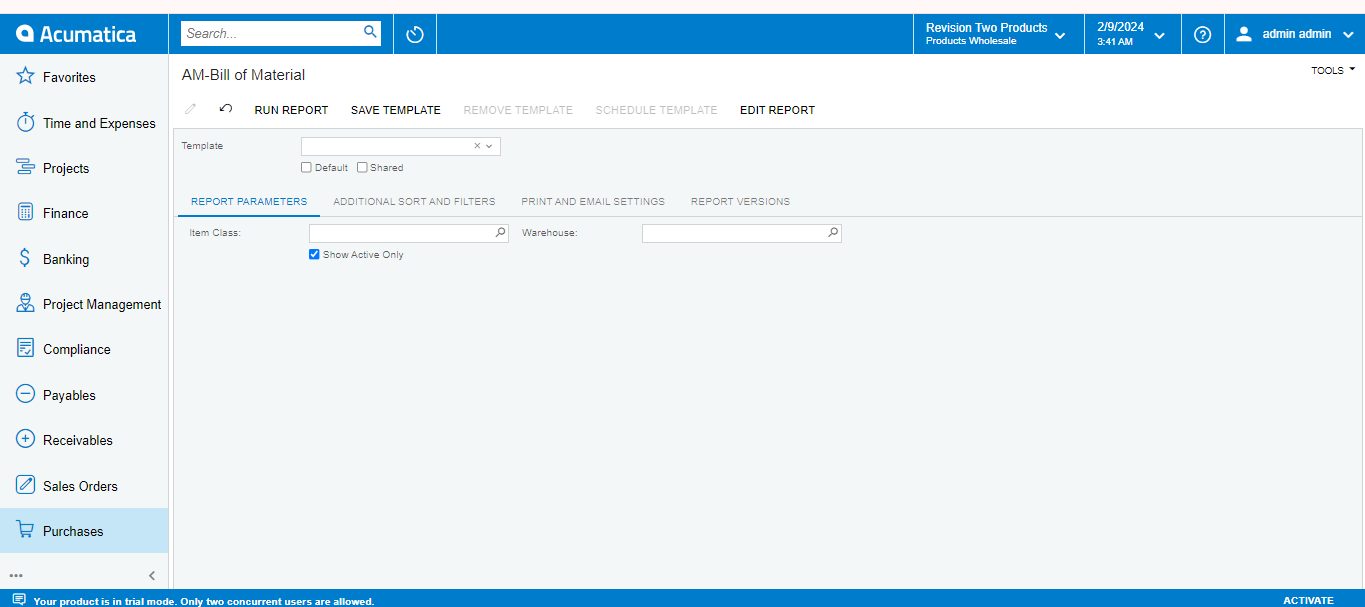
5. Add Site Map with report name and review the report and parameters.


