In our previous blogs, we have witnessed the new features of GUMU™ for Bulk Account Promotion and Bulk Order Promotion. This blog will further explore how users can Bulk Update Accounts and their related objects (Contact & Address) from Salesforce to Sage. Before moving forward, kindly refer to our previous blog on creating an individual Account in Salesforce and promoting it in ERP System.
Follow the below steps to Update multiple (Account, Contact, Address) from Salesforce to ERP system.
- Firstly, login to Salesforce.
- Secondly, navigate to app launcher and select “GUMU Integration” from app list.
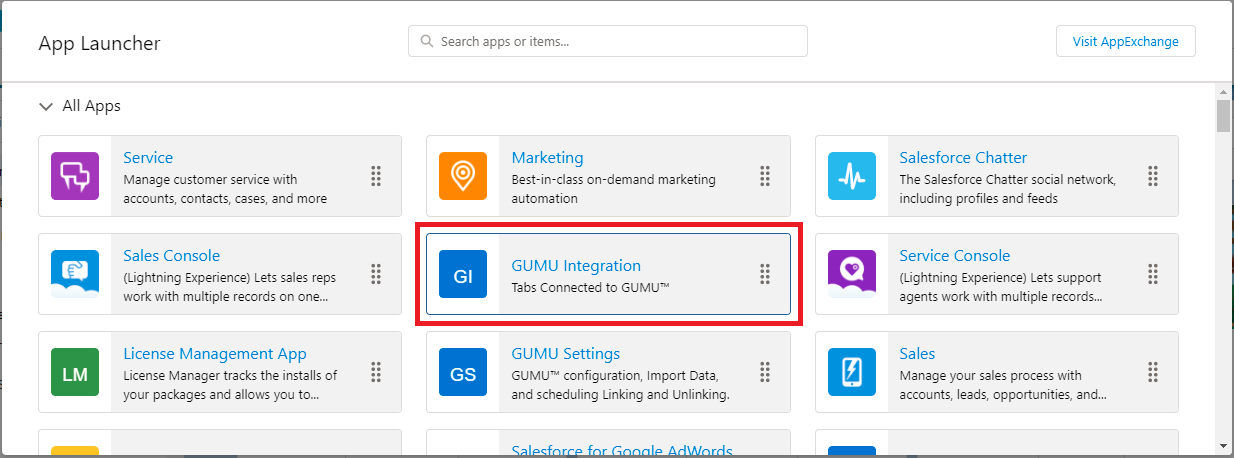
- After that, user can click on the “Bulk Update” tab, as shown in the above image.
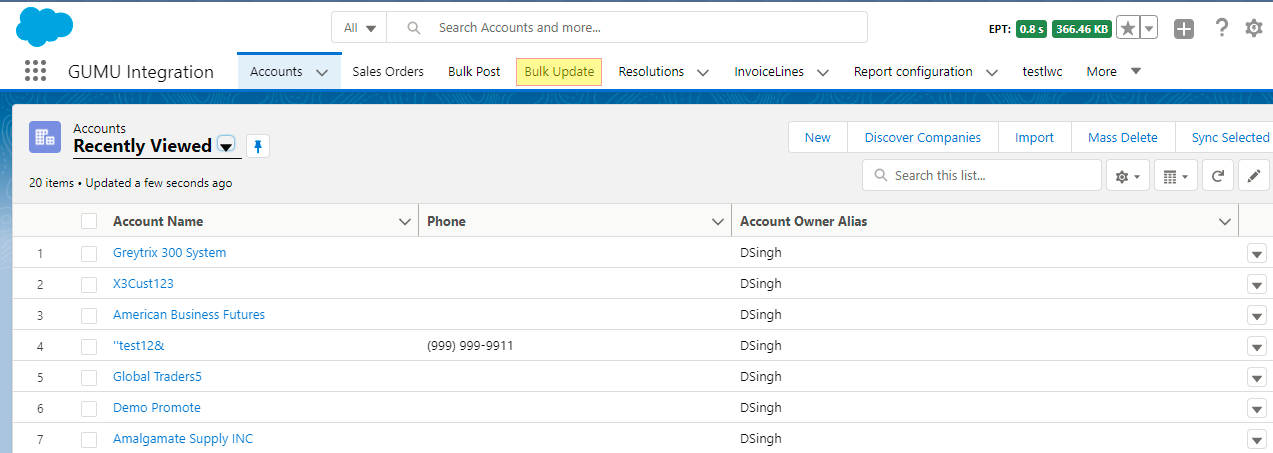
- Then, user will get three mini tabs (Account, Contact, Address) every tab has different functionality.
- User will notice “Bulk Update Account” as the first tab. It lists Salesforce Accounts which are promoted and linked to a customer record in ERP. In addition, you can search the particular Account by using the search box.
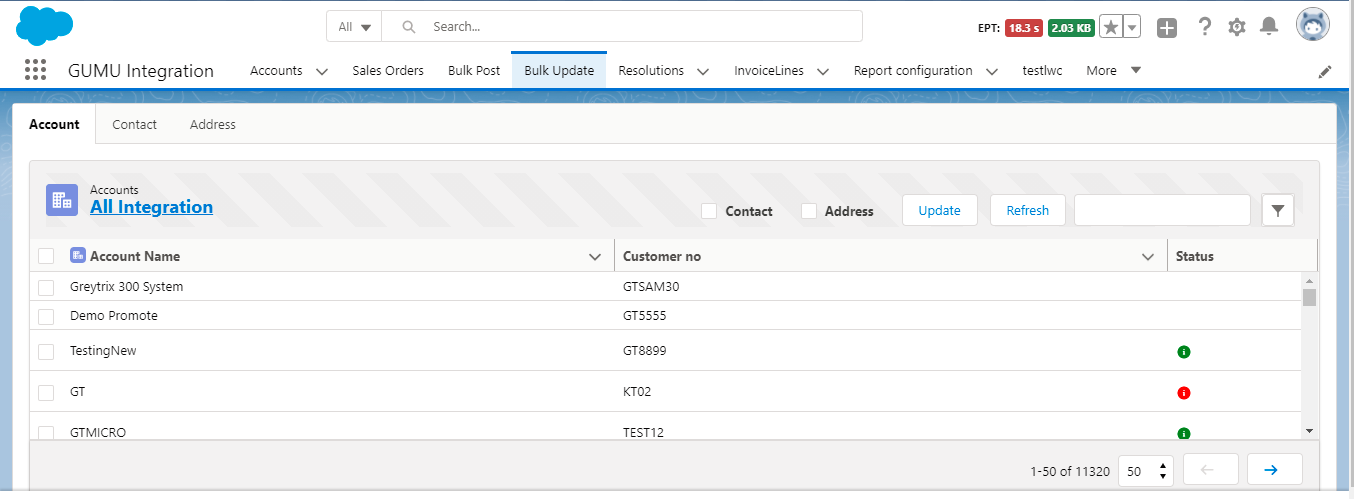
- Or can use multiple filters according to your condition as shown in the below image. For using filter, click on the filter Icon then one block will be display which is shown in below image.
- As you can see in the above image, the user can add multiple filters by selecting conditions and clicking on add. Users can remove the state by clicking on the cross sign shown in the image (ii). After adding conditions, users can click on Apply button to the filter record, and they will be displayed accordingly.
Account Bulk Update
- In the Account, tab the user can see three columns which are
- “Account Name” is the Account name from the Salesforce,
- “Customer No” is the Customer no of the ERP system.
- “Status” is used to show updates for the records being sent to the ERP system.
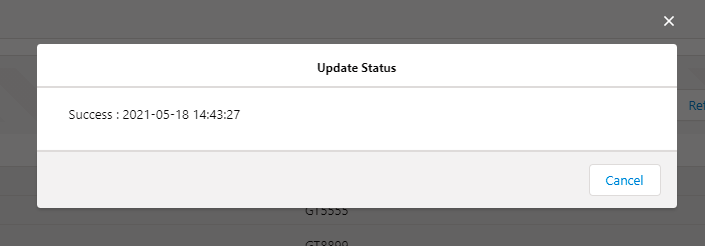
- By default, there are no symbols in the Status column, which means this record is not updated from its creation. The green color is for success. When a user clicks on the “status icon,” it will show the Success message with the date and time. An example is shown in below image.
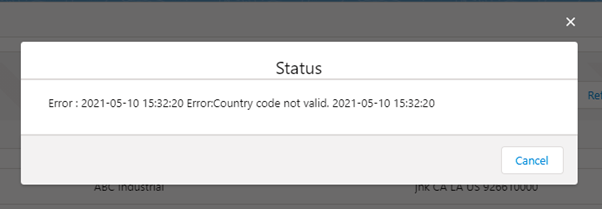
- If the record is not update successfully, then the status icon will be Red. When the user clicks on the “status icon”, it will show the error message why the operation failed. Example is given in the image below.
Working in Tabs:
- In Account tab user can also Update Contact and Address as well by use check box which is shown in the below image.
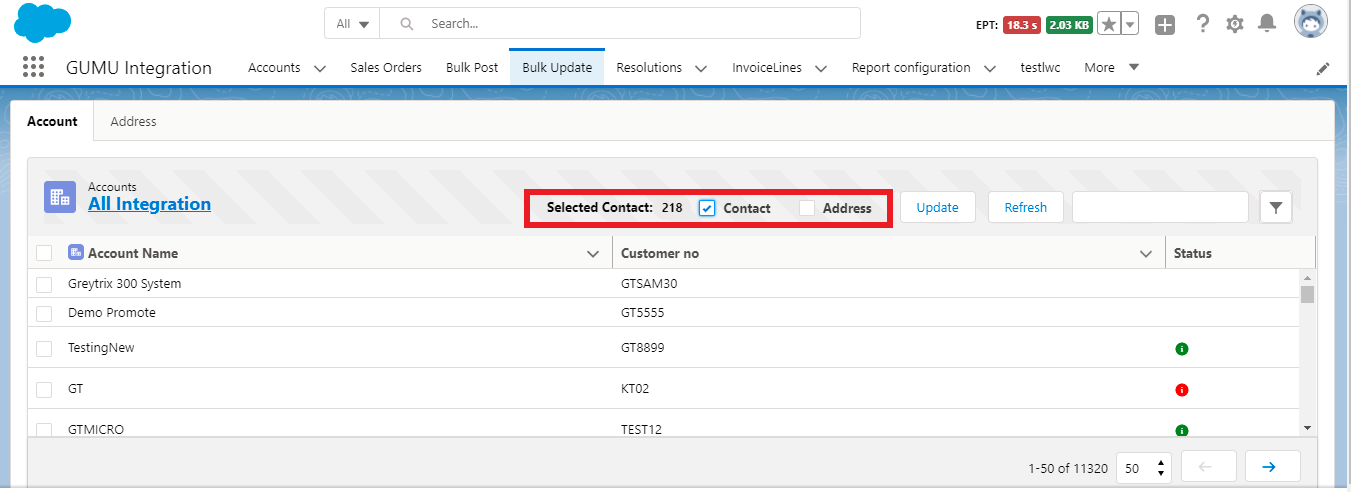
- As shown in the above image, when user selects the “Contact” check box, the Contact mini tab will be disabled. User can click the “Update” button which will select all promoted record for an update. Example is shown in the image below.
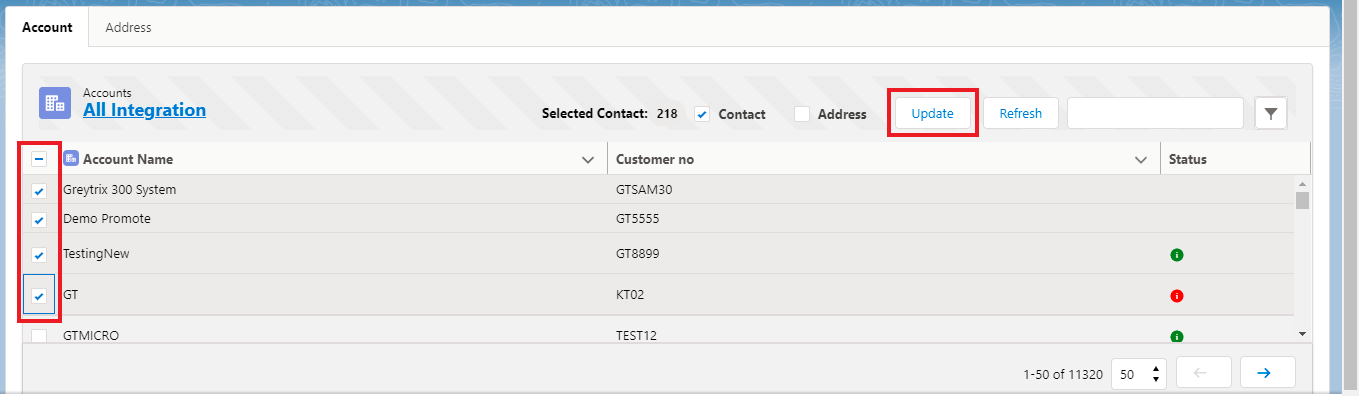
- As you can see in the above image, users can select multiple records simultaneously, and they can update it all by clicking on the Update button. Selected Accounts and Contacts are processed for an update to the ERP system. And this will work in the same manner with the Address Checkbox.
In conclusion, by using this new GUMU™ functionality, we hope users can update multiple Customers from Salesforce to Sage ERP. If you still have issues/concerns, you can write them to us, and we will reach out to you with the same.
We hope you may find this blog resourceful and helpful. If you still have concerns and need more help, please get in touch with us at salesforce@greytrix.com.
About Us
Greytrix – a globally recognized and one of the oldest Sage Development Partner and a Salesforce Product development partner offers a wide variety of integration products and services to the end users as well as to the Partners and Sage PSG across the globe. We offer Consultation, Configuration, Training and support services in out-of-the-box functionality as well as customizations to incorporate custom business rules and functionalities that require apex code incorporation into the Salesforce platform.
Greytrix has some unique solutions for Cloud CRM such as Salesforce Sage integration for Sage X3, Sage 100 and Sage 300 (Sage Accpac). We also offer best-in-class Cloud CRM Salesforce customization and development services along with services such as Salesforce Data Migration, Integrated App development, Custom App development and Technical Support business partners and end users. Salesforce Cloud CRM integration offered by Greytrix works with Lightning web components and supports standard opportunity workflow. Greytrix GUMU™ integration for Sage ERP – Salesforce is a 5-star rated app listed on Salesforce AppExchange.
The GUMU™ Cloud framework by Greytrix forms the backbone of cloud integrations that are managed in real-time for processing and execution of application programs at the click of a button.
For more information on our Salesforce products and services, contact us at salesforce@greytrix.com. We will be glad to assist you.
Related Posts
- GUMU™ Features – Experience Real-time Product Inquiry in Salesforce – Sage X3 Integration
- Promoting Shipping Address as Default Address from SF.com to Sage X3 using GUMU Lightning components
- Promote Salesforce Account to Sage X3 Customer using GUMU™ lightning version
- GUMU™ Salesforce Tricks & Tips – Promoting Billing Address from SF.com to Sage X3 using GUMU Lightning components
- Promote Sales Order from SF to Sage X3 ERP through GUMU™ using Salesforce Lightning Components