In our previous blog, we discussed how to add the checkboxes in the list by adding Dummy field in the table.
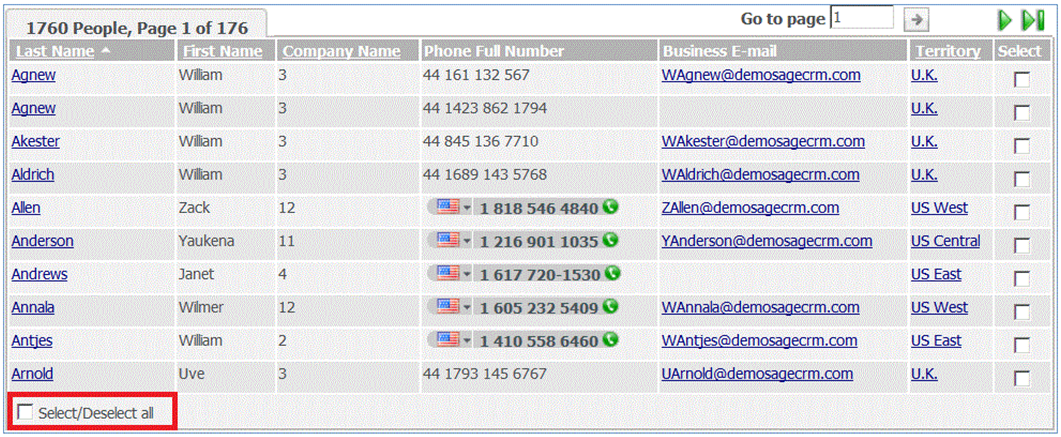
Now, we would be discussing how to enable Select/Deselect all option in the Sage CRM list.
Also Read: Set Grid size as per your requirement in Sage CRM
Sage CRM .NET SDK allows user to add Select/Deselect all option by using below 2 properties.
1. CheckBoxColumn
2. ShowSelectUnselectButton
Suppose below is the list object you are using in your code;
Sage.CRM.Controls.List objList = new Sage.CRM.Controls.List (<<List/Grid Name>>);
objList.CheckBoxColumn = “Select/Deselect“;
objList.ShowSelectUnselectButton = true;
Note: User has to add both the properties in order to add the Select/Deselect all option in the list block.
Once this option is enabled, user can easily write a client side code to select all or deselect all check-boxes. Code snippet mentioned below.
<Snippet >
<script language=’javascript’>
function SelectDeselectall()
{
var checkboxes = new Array();
var chkValue= document.getElementById(‘_IDhInputSelectDeselect’).checked
checkboxes = document.getElementsByTagName(‘input’);
for (var i=0; i<checkboxes.length; i++)
{
if (checkboxes[i].type == ‘checkbox’)
{
if (chkValue==true)
checkboxes[i].checked = true;
else
checkboxes[i].checked = false;
}
}
}
</script>
</Snippet>
Using this option, one can easily do bulk updates for the required grid item.
Related Posts:
1. Few points to Enhance Performance of your SageCRM
2. Email Screen in Sage CRM 7.2
3. Document Upload Notification in Sage CRM
