In our previous blog “Item Code Change” we had illustrated the way of changing, combining and copying single item which rather becomes a tedious task when we need to make the changes in range of items.
Here, to fulfill our requirement we will make use of “Import” feature which is listed in File option shown in the menu bar of Item Code Change screen. To use this feature we have to create an excel sheet in “Microsoft Excel Comma Separated Values File (.csv)” format and put in the required items into it which we need to work on with their action type.
New Stuff: Bulk Posting of Batches in Sage 300 ERP
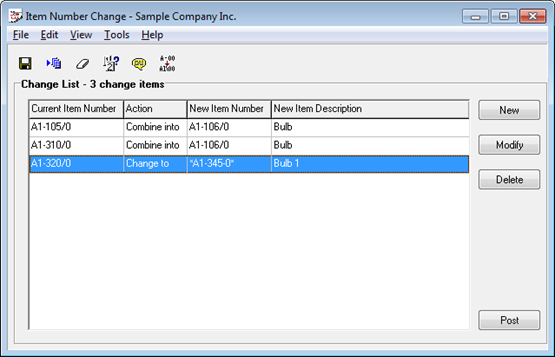
Let’s take an example where we need to combine items “A1-105/0” and “A1-310/0” into “A1-106/0”; and change the item “A1-320/0” to “*A1-345-0*”.
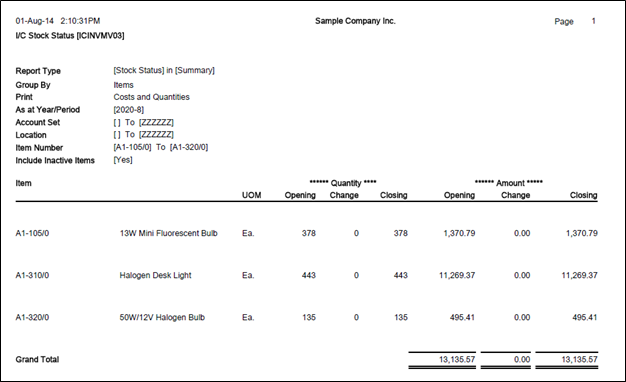
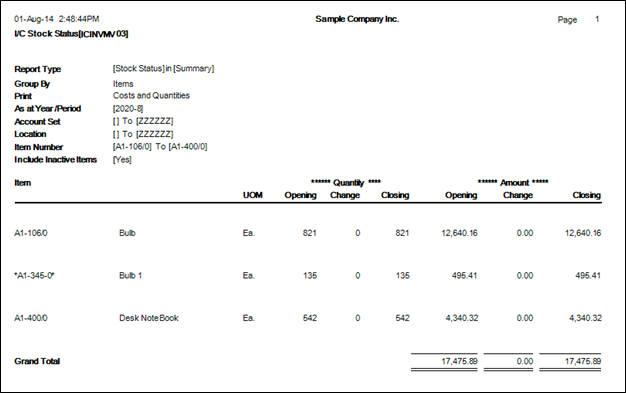
Before going ahead, navigate to Inventory Control >> I/C stock control report and print the stock status report at summary level to check out the impact of this utility before and after the posting of required change list.
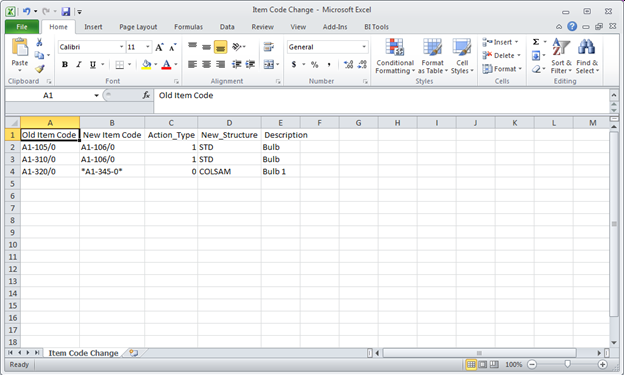
Now, create the required sheet in correct format with following information into that:
1. Old Item Code: This would be an existing item which you would want to manipulate.
2. New Item Code: This would be a target item which will be affected on posting of import file.
3. Action Type: In this, you need to enter the numeric value 0 or 1 or 2 as per the action required by you.
• If you will choose ‘0’ then the system will replace the old Item Number with a new Item Number in your Sage 300 ERP data files and an old Item Number will be removed from your database.
• If you will choose ‘1’ then the system will merge the history, data records and transactions of the old existing item into the new existing Item and remove the source item from the sage records.
• If you will choose ‘2’ then the system will quickly establishes a new Item based on an existing Item. But in this case, main point which we need to focus on is that only basic info is copied from source item to target item, no Item activity or history information is copied and source item remains unchanged.
4. Description of New Item: This would be a description of New item code.
Below is the screenshot of the excel file which we need to create:
Going further, move to Item Number Change utility and open the screen of “Item Number Change Import” over there to import the already created template of item code change.
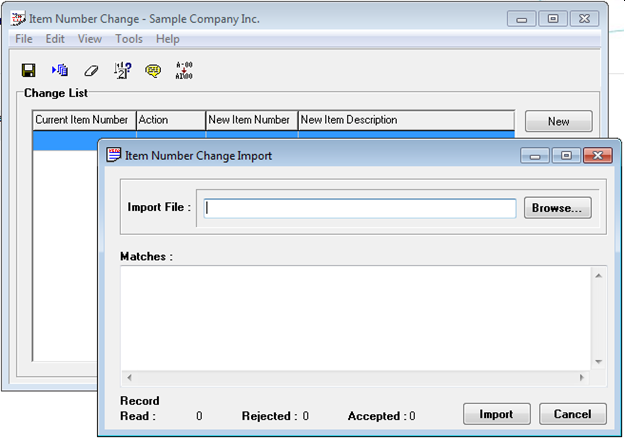
To import the excel file click on Import in File menu of Item Number Change screen, browse for excel sheet in Import File field present in Item Number Change Import screen and then click on “Import” at the bottom of same screen.
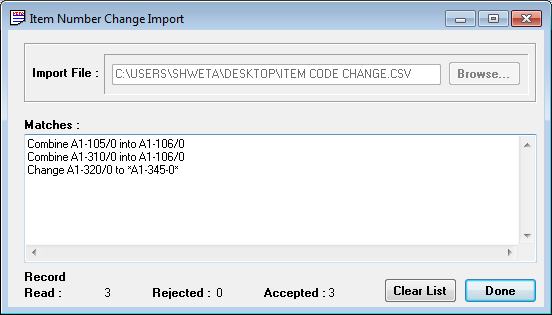
On clicking Import, following screen will appear wherein you have to click on Done once all the items get accepted. This screen shows the accepted and rejected item’s list with their error log if any.
Next, click on Post in Item Number Change screen.
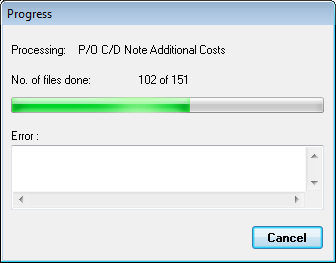
At last, you will get the following Information screen showing that all the changed imported by you are posted successfully.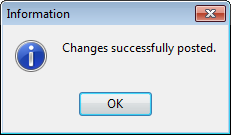
Again, to check the impact of posted changes reprint the stock summary report wherein you can notice that Opening and closing quantity & cost of items “A1-105/0” and “A1-310/0” is combined into “A1-106/0”; and item “A1-320/0” is replaced with item “*A1-345-0*”.
So, I hope now you can use this functionality to make the necessary changes in your item master even after posting of transaction for the same. But, make sure you take the back up of your database before doing this activity.
Also Read:
1. Inventory Control Settings – Allow Items at All Locations
2. Define Items in SAGE 300 ERP without Inventory Control module
3. Find the A/R items sales history
4. How to assign unique serial Number to Individual Items in Sage 300 ERP Versions 2014
5. Search and Find Item Option in Transaction UI