We frequently work with multilingual Sage X3 clients that prefer to utilize the program in their native languages. Many times during patching we often lose the translations for objects and to manually update them is a hassle.
To know all the untranslated texts Sage X3 has a Translation module in the Navigation page that offers several tools among which today we’ll show how to make use of the Texts to Translate function.
To do the translation process, follow the steps below:
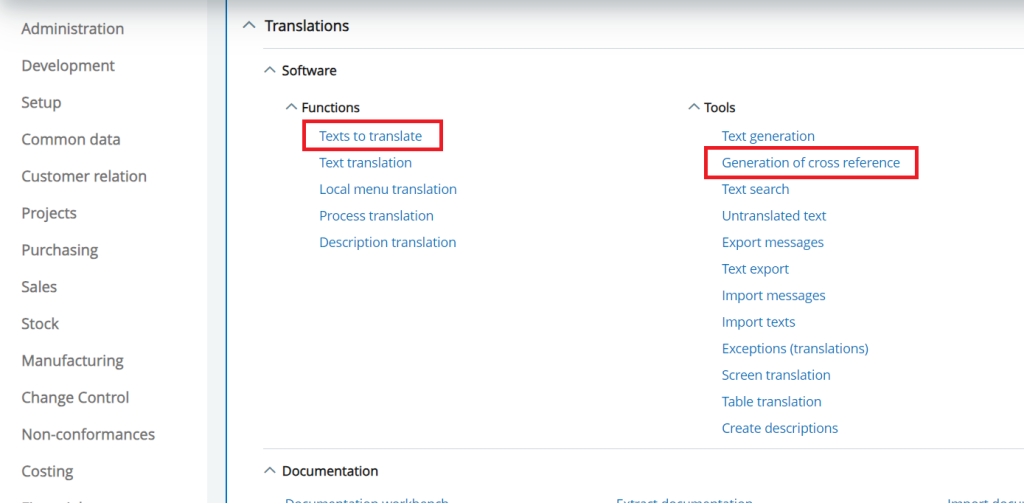
Generation of cross reference: All > Translations > Software > Tools > Generation of cross-reference (AGENREFTXT)
Texts to Translate: All > Translations > Software > Functions > Texts to Translate (ATXTTRAD)
New Stuff: Validation on Quantity field of the Purchase Invoice screen
Refer the screenshots for reference:
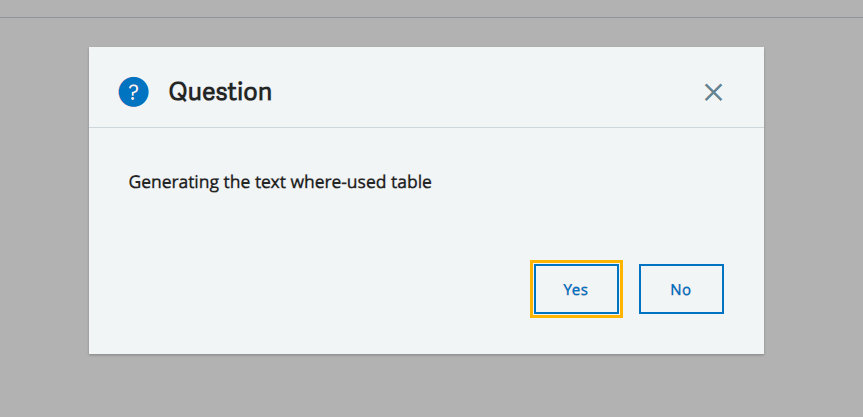
-First navigate to Generation of cross reference screen from the above path. This tool is used to generate a Temporary where-used table which has all the links of the text codes from ATEXTE table to the objects within Sage X3. Click on Yes button to begin the table generation as shown in Fig. 2.
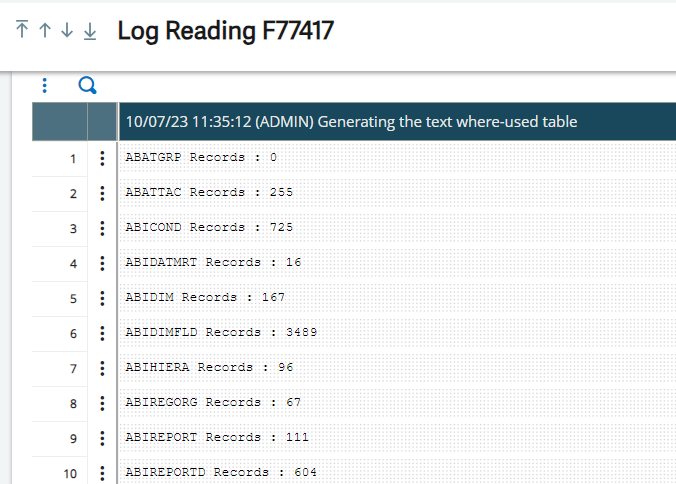
-Once the table is generated a log page shows how many objects are added as shown in Fig. 3. Then head to Texts to translate screen and fill in the data as per your translated language and click Search as shown in Fig. 4.
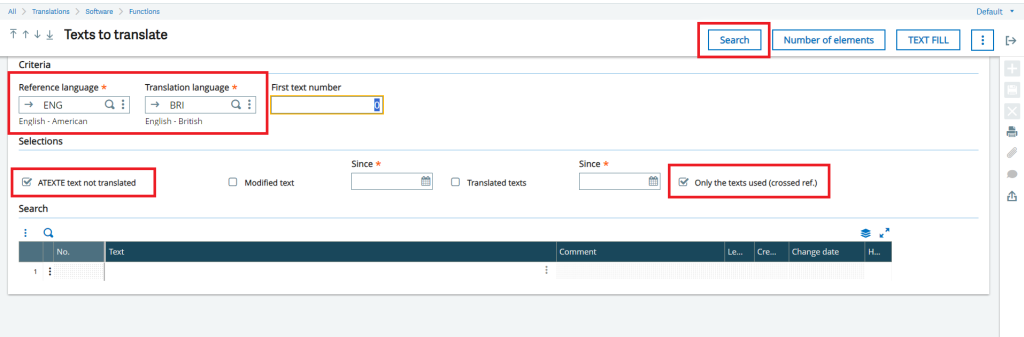
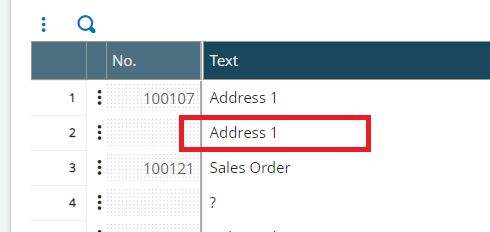
-Once the search is completed we’ll see all our untranslated texts below in the table and for each record 2 lines will be present. The 1st line is for Reference language and 2nd for Translation language, for untranslated data the line will show “?” and we can edit out and click on save as shown in Fig. 5.
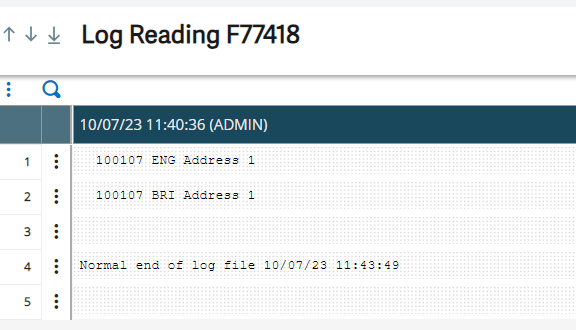
-When the changes are done on closing the screen a log will be generated showing all the changes made along with the validation as shown in Fig. 6. Log out the application and log in back with the translated language selected then we can see all our objects are updated with the texts.
This way we can make use of the Texts to translation function in Sage X3 to update all our untranslated data without having to worry about validations.