In Sage X3, the left-list is essential for navigating key functions like sales deliveries, sales invoices, purchase receipts, and purchase invoices. These screens allow users to select items from the left-list and proceed with transaction creation seamlessly.
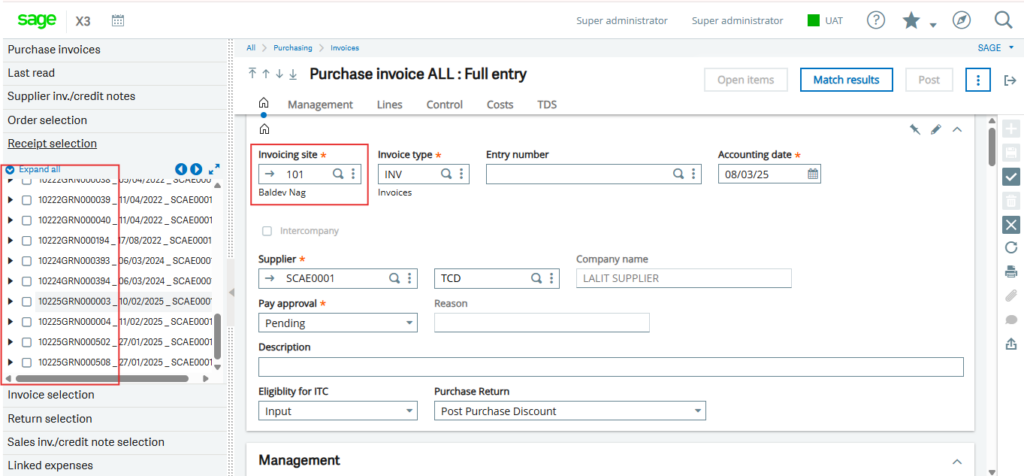
By default, in the purchase invoice screen, when creating a purchase invoice, the first step is to select the site and then click on the left-list GRN selection. This displays all GRNs from different sites as shown in the figure Fig 1. However, many clients have recently requested the ability to display GRNs in a such way that, left list should filter the GRN’s site-wise in the left list.
To achieve this, we have added some customized script on the invoice screen.
New Stuff: Lot Validation of ‘Closed + Coasted’ and WIP posting
Steps to follow :
The first step is to add a single line of code in the standard SUBPIHA code. Refer to the snippet below.
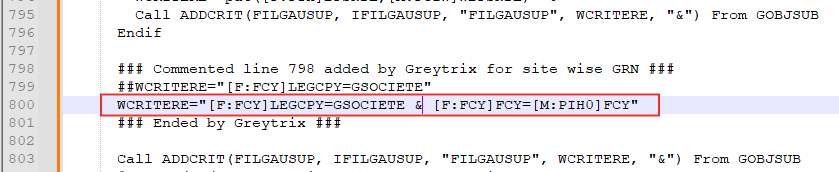
In the above snippet of code, we add one more condition for the standard $FILGAUCHE event: we assigned the purchase invoice screen site code to the standard table in order to filter the site-wise GRN.
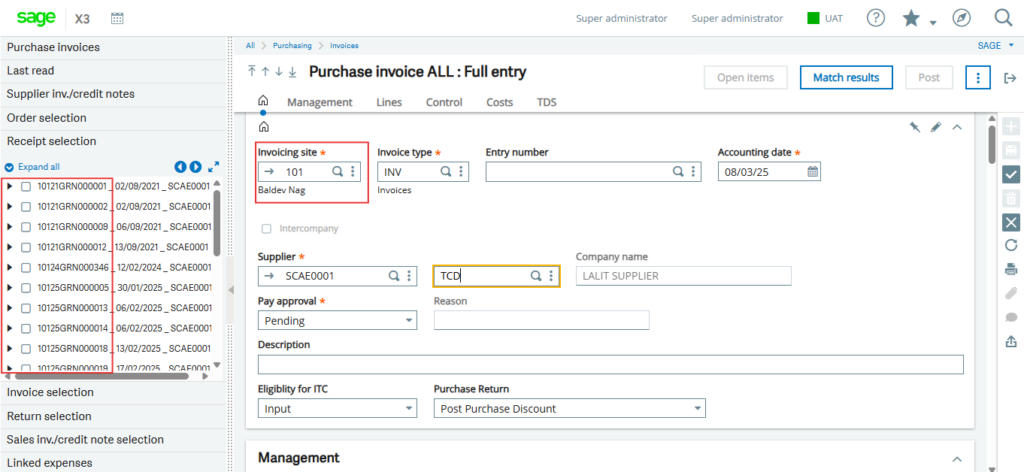
In conclusion, by following the steps provided, we have successfully implemented the filtering of site-wise GRN on the purchase invoice screen, improving data accuracy and display, as shown in Fig 3.
[about_us_blog_common]