Sometimes it happens that we ignore the systems standard features and try to find out the alternate way to do the same work. So Today we are going to discuss one of Sage 300 standard features i.e. Import feature.
New Stuff:- Refund Entry– Job Related Documents introduced in Sage 300 2019.2 Web Screens
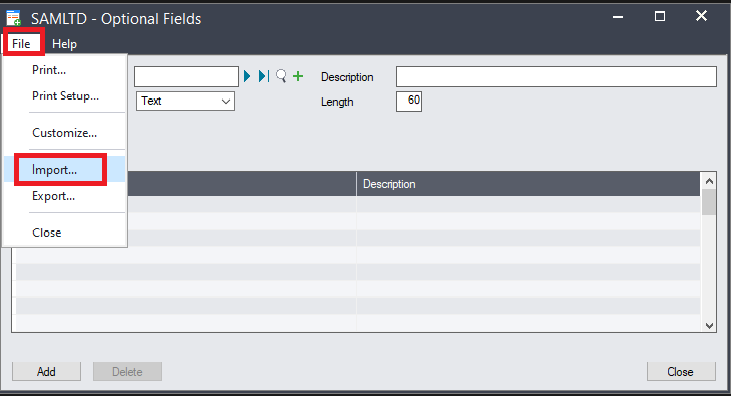
Sage 300 allow you to Import the data according to the screen level fields. For example we will check the Import functionality of Common Services à Optional Field.
To import the File into sage 300 there is an option “Import” present under the “File” Menu using this you can import the record in sage 300.
 Once the user click on Import option, the system will open the Pop up where it will allow you to check the formats and allow to browse and import the file which user wants to import.
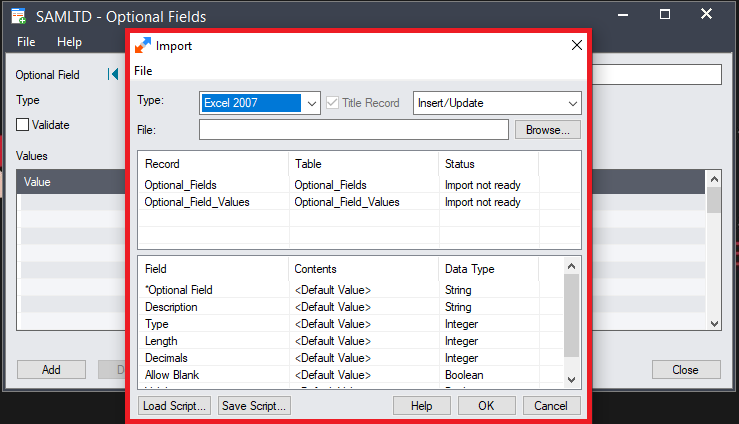
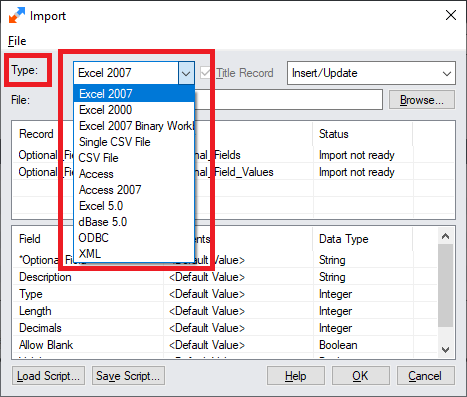
You can see in below screen, Sage 300 also allows to choose the different file format through which you want to import the data.
You can select the Title Record i.e. if you want to only “Insert” the record then you can select Insert Option, If you want to Update the existing values then you can select the “Update“ Option and if you want to insert and Update the values then you can select option “Insert/Update”.
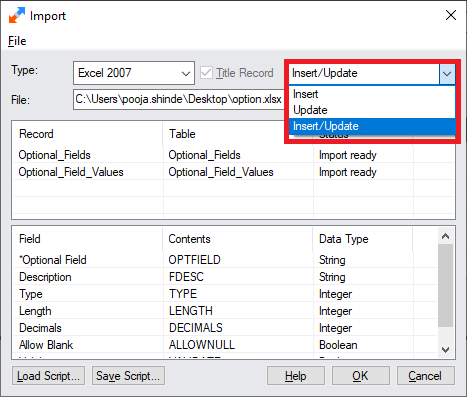
You can browse the file from system to upload in to sage 300.
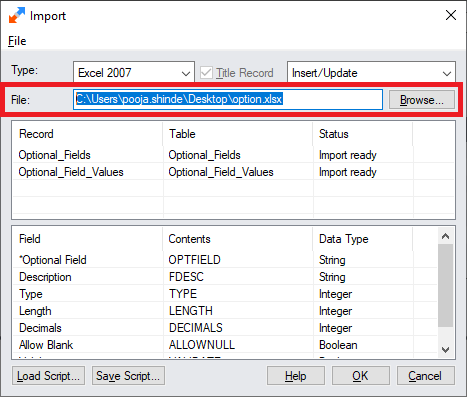
Now the important part of Import functionality is Formatting, let’s for example consider user is going to import the record in the form of Excel format then user should create the two sheets in single excel file i.e.
- Optional_Fields
- Optional_Fields_Values

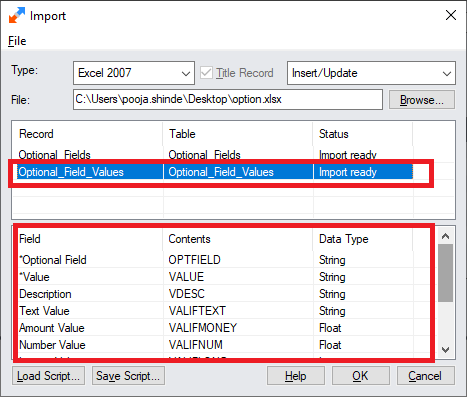
In the above Screenshot you can see two section present in screen, the very first section indicates the name of the Sheet and the second section indicate that the columns should be present in excel sheet.
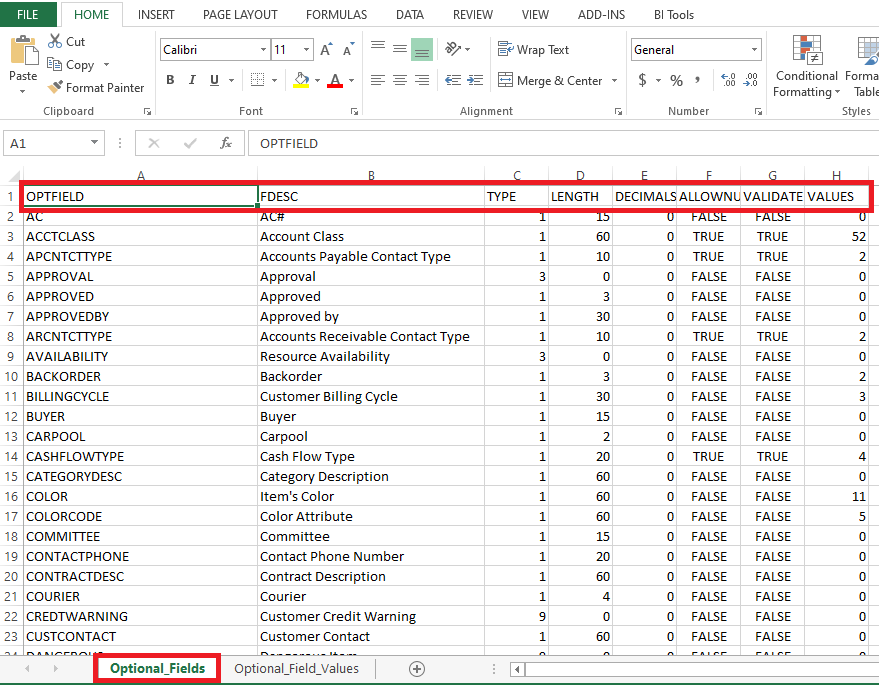
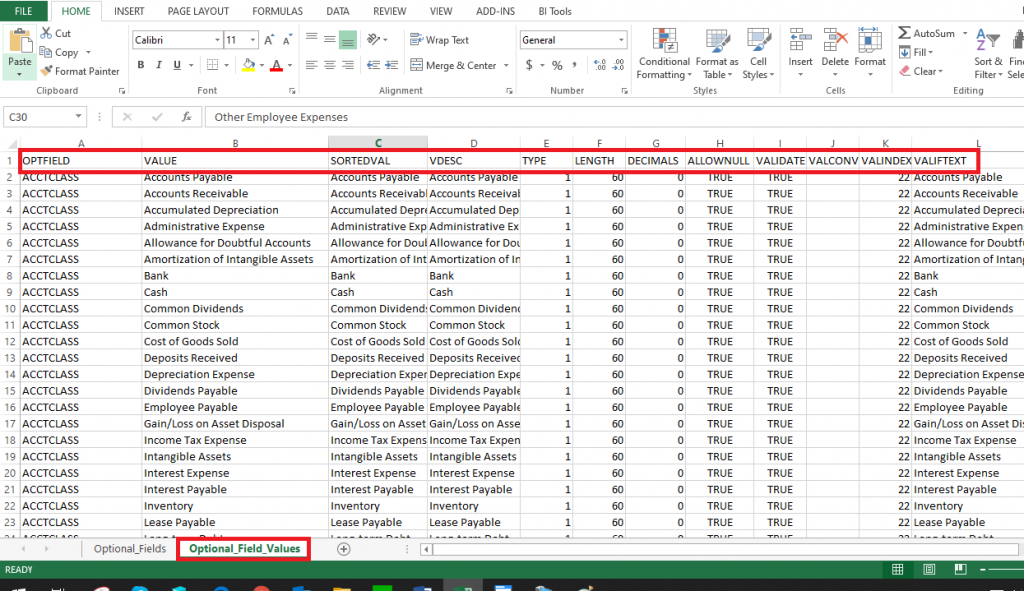
Here you can see, we have created two sheets respectively with names indicates in first section and Columns indicates in second section i.e. “Optional_Fields”, “Optional_Fields_Values”.
This is how you can import the record in sage 300 using the different file type.
About Us:-
Greytrix a globally recognized Premier Sage Gold Development Partner is a one stop solution provider for Sage ERP and Sage CRM needs. Being recognized and rewarded for multi-man years of experience, we bring complete end-to-end assistance for your technical consultations, product customizations, data migration, system integrations, third party add-on development and implementation expertise.
Greytrix offers unique GUMU™ integrated solutions of Sage 300 with Sage CRM, Salesforce.com and Magento eCommerce along with Sage 300 Migration from Sage 50 US, Sage 50 CA, Sage PRO, QuickBooks, Sage Business Vision and Sage Business Works. We also offer best-in-class Sage 300 customization and development services and integration service for applications such as POS | WMS | Payroll | Shipping System | Business Intelligence | eCommerce for Sage 300 ERP and in Sage 300c development services we offer services such as upgrades of older codes and screens to new web screens, newer integrations using sdata and web services to Sage business partners, end users and Sage PSG worldwide. Greytrix offers over 20+ Sage 300 productivity enhancing utilities that we can help you with such as GreyMatrix, Document Attachment, Document Numbering, Auto-Bank Reconciliation, Purchase Approval System, Three way PO matching, Bill of Lading and VAT for Middle East.
For more details on Sage 300 and 300c Services, please contact us at accpac@greytrix.com. We will be glad to assist you.