Data extraction is the process of retrieving data out of data sources for further data processing or data storage (data migration).
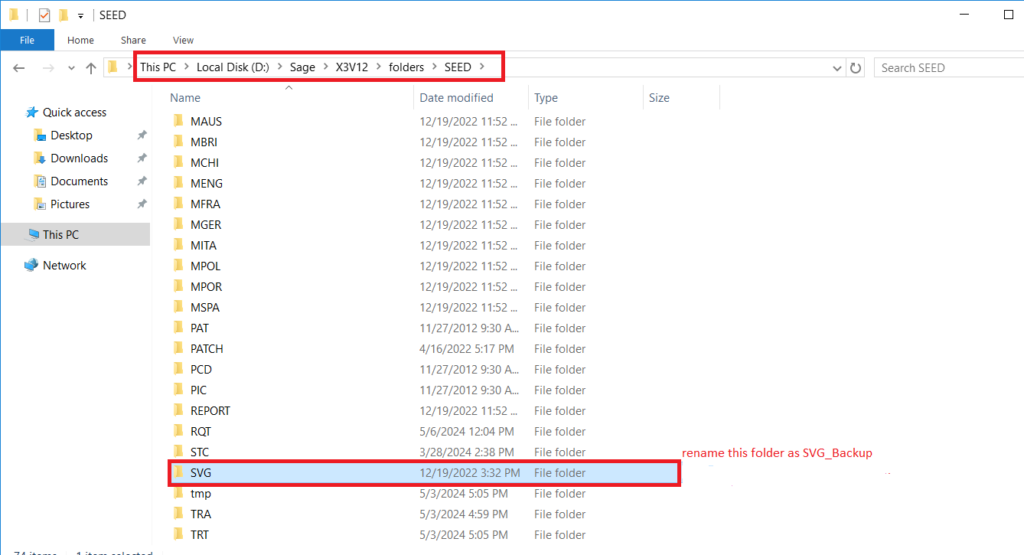
In Sage X3, there folder which consists of this data backup is called as “SVG”. This folder is available in the below-mentioned path:
Sage X3 Installation Folder> \<Folder Name>\ SVG
To carry out the process of data export We will perform the following steps:
- Navigate to the backend folder path. Rename the existing SVG folder name and create new folder manually with name as ‘SVG’.
Sage X3 Installation Folder> \<Folder Name>\ SVG

2. Now, access the Sage X3 application. And login in X3 folder.
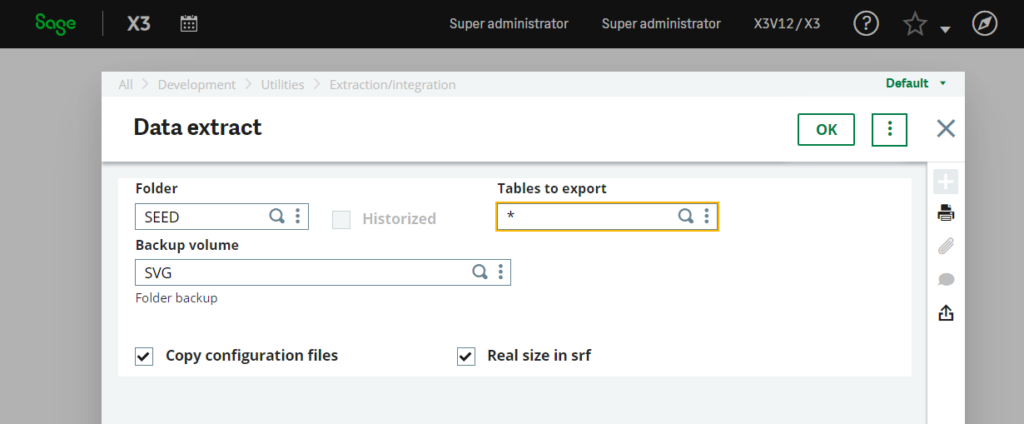
3. Then navigate to: Development > Utilities > Extraction/Integration > Data Extraction. We will find a screen like the following:

Note: User can take the SVG from respective folder as well.
Now in this screen, each fields indicates as:
- Folder: enter folder name whose data needs to be extracted.
- Table to export: enter * in it to extract all tables .
- Backup volume: this should be set as ‘SVG’.
- Copy configuration files: The box of Copy configuration files is checked when you want the file with extension .cfg from the FIL directory to be copied to the extraction directory (SVG in this case).
- Real size in srf: The box actual size in srf is marked when you want the file with the .srf extension, which contains the sizing elements for the tables, to be created taking into account the actual size of the tables and not the expected one.
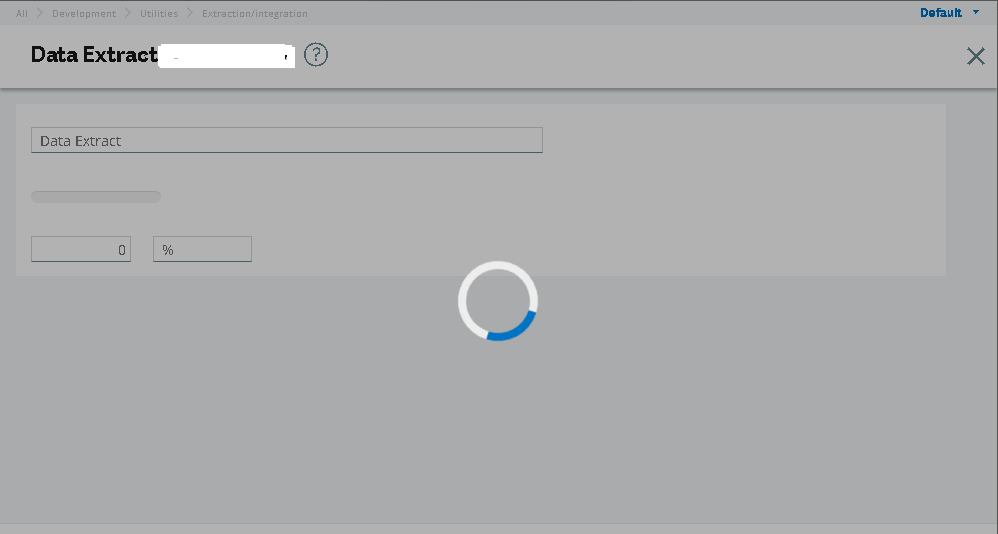
Once the necessary fields are filled in, press Okay. This generates a process in which the backup is made in the SVG folder in the backend folder path.

In this way, user can process a data extraction (SVG) for the specific folder in Sage X3.

