In Sage X3, (formerly known as Sage Enterprise Management or Sage ERP X3), ERP system refers to a method of transaction processing where your system collects data over a small period of time before processing and posting entries to your general ledger. Instead of processing each journal entry as it comes into your system, entries are “queued up” so that your ERP system can process them all at once.
Sage X3 makes your task easy and manage batches in your system. In this blog, we will show you how to use the batch entry function which allows you to enter multiple journal entries. So, that they can be validated and posted at once, saving you time and improving efficiency.
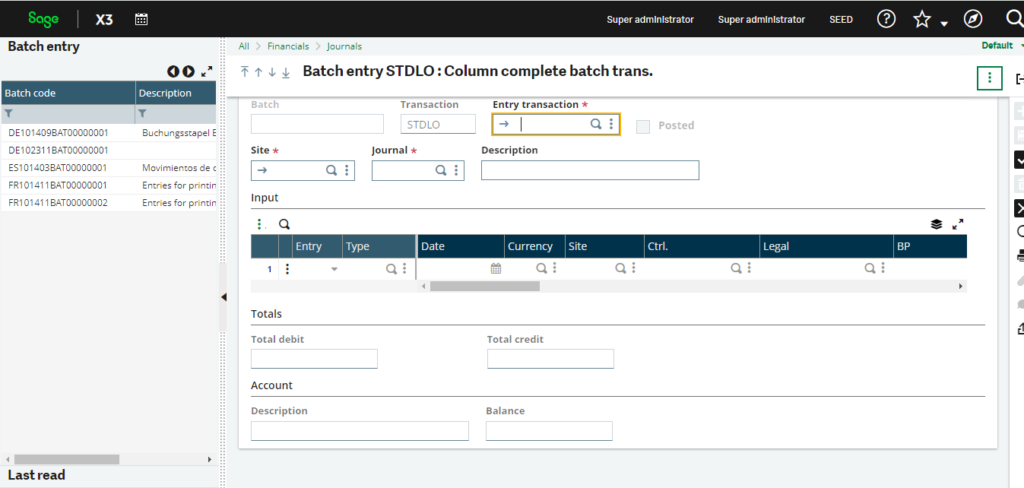
Step 1: Create new record:
You can access batch task through following steps:
Navigation > Financials > Financials > Journals > Batch entry.
For starting with adding multiple expenses, click on New Record.
A Batch Code field will be greyed out, this field will be automatically available when the batch is created.
Next, type the Entry Transaction Code (known as User Interface), site code, journal code, and a description.
Step 2: Enter Transaction:
To begin entering a transaction, select Yes and enter the Document Type.
Note: The document type must be authorized by the journal code. Add other details like Date, Currency, Site, BP, Account Number and finally the amount of transaction under Debit.
Step 3: Entering Balancing Transaction:
For each line that’s associated with journal entry. Select No and enter the Document Type.
Next, enter the Account Number and balancing figure.
Choose Balance in dropdown menu under Credit and enter the amount.
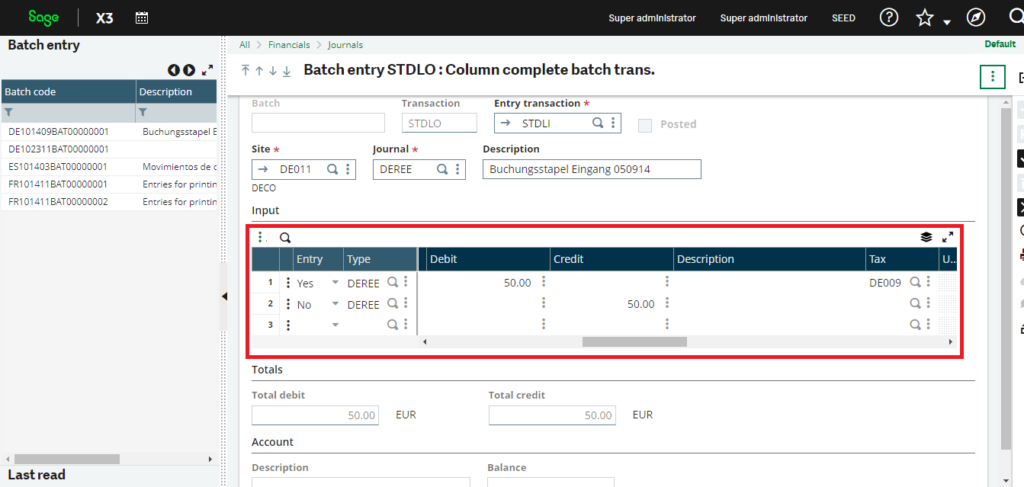
Repeat steps 2 and 3 to enter as many as transactions you wanted to like for that batch.
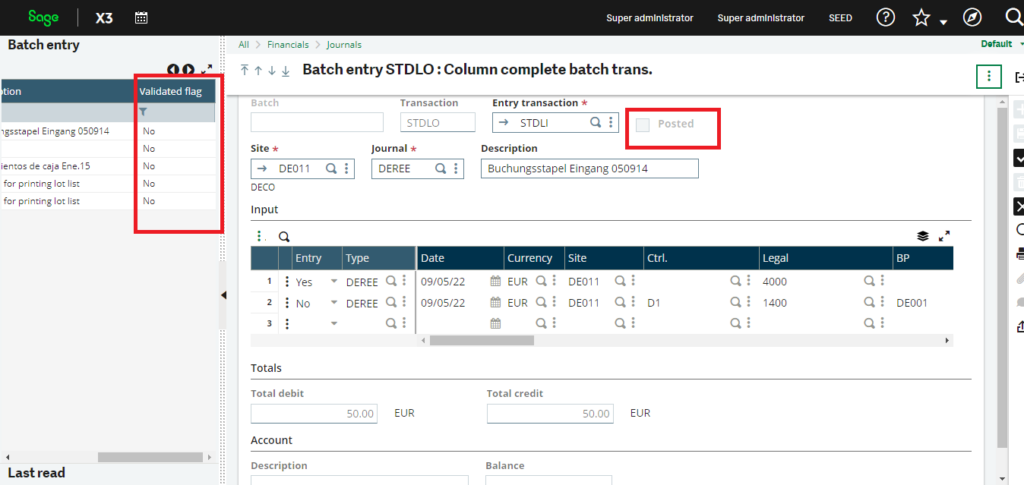
Step 4: Click on create:
Once you are done with all the transactions, click on create. Once you saved a Batch Code field will be populated.
Now your batch is ready for validation and posting. If the batch is validated, the validation flag will display “Yes”. If it is posted the checkbox next to Posted is checked off.
You can save the batch which has not posted yet. However, it will not posted until all entries are balanced.
Here you go!! Now you know how to create batch entry, enter multiple entries in batch entry along with validation and posting.
About Us
Greytrix – a globally recognized Premier Sage Gold Development Partner is a one-stop solution provider for Sage ERP and Sage CRM needs. Being recognized and rewarded for multi-man years of experience, we bring complete end-to-end assistance for your technical consultations, product customizations, data migration, system integrations, third-party add-on development and implementation expertise.
Greytrix caters to a wide range of Sage X3 (Sage Enterprise Management) offerings – a Sage Business Cloud Solution. Our unique GUMU™ integrations include Sage X3 for Sage CRM, Salesforce.com and Magento eCommerce along with Implementation and Technical Support worldwide for Sage X3 (Sage Enterprise Management). Currently we are Sage X3 Implementation Partner in East Africa, Middles East, Australia, Asia. We also offer best-in-class Sage X3 customization and development services, integrated applications such as POS | WMS | Payment Gateway | Shipping System | Business Intelligence | eCommerce and have developed add-ons such as Catch – Weight and Letter of Credit for Sage X3 to Sage business partners, end users and Sage PSG worldwide.
Greytrix is a recognized Sage Rockstar ISV Partner for GUMU™ Sage X3 – Sage CRM integration also listed on Sage Marketplace; GUMU™ integration for Sage X3 – Salesforce is a 5-star app listed on Salesforce AppExchange.
For more information on Sage X3 Integration and Services, please contact us at x3@greytrix.com. We will be glad to assist you.