In Sage X3, assignment rules are used to define how transactions, such as sales orders or purchase orders, are automatically assigned to specific resources or entities. These rules are part of the Resource Planning module, which helps in optimizing resource utilization and improving efficiency in managing various business processes.Assigning orders (needs and resources) among one another are done via this function. One way to do this would be to link a work order to a sales order and a purchase order to a material need.
This function is customized to the needs of your organization and your processes. The transaction you select determines the way in which you enter information, and information is displayed and printed.The type of viewed orders depends on the product workbench transaction that is being used.
The assignments performed in this function correspond to orders in progress. The requirement calculation is based on the quantity not assigned at the resource or requirement level. When header criteria have been entered, the displayed orders can be assigned or not by double-clicking or right-clicking on the cells in the grids. Icons symbolize the various actions that are carried out or are available. The orders, whether assigned or not, are distributed among the two grids based on their status.
Key Features:
Create the following new assignment rule that allows for the assignment of multiple assignments:
Navigate to: Setup > Stock > Assignment rule
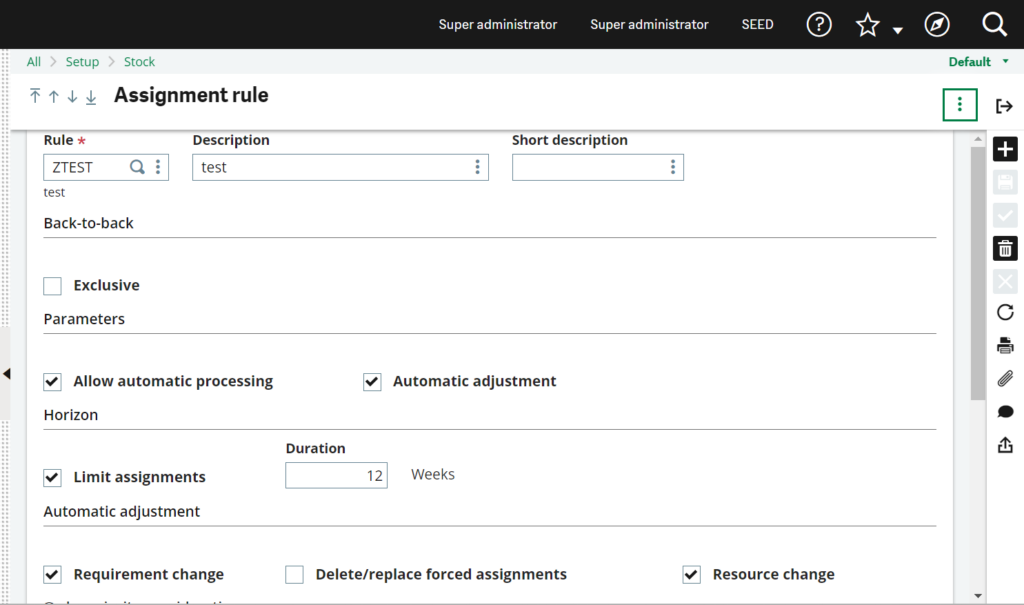
Fig. 1 – Setup new assignment rule
After creating the new Assignment rule do blank setup for the STD assignment rule.
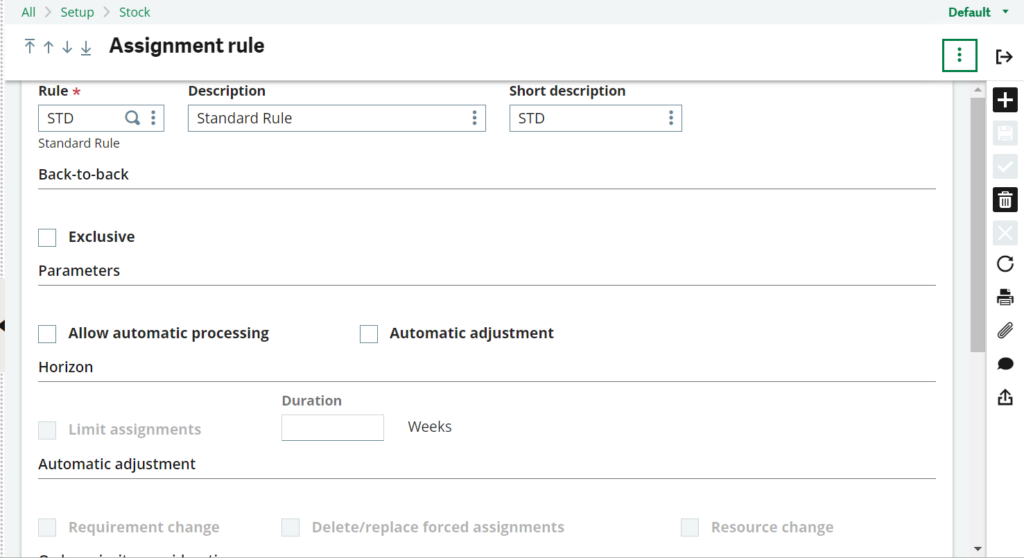
Fig. 2 – Blank setup for STD assignment rule
Check the General parameter: DEFPTO (Assignment rule MTO) after setting up the new assignment rule; it should be the default STD.
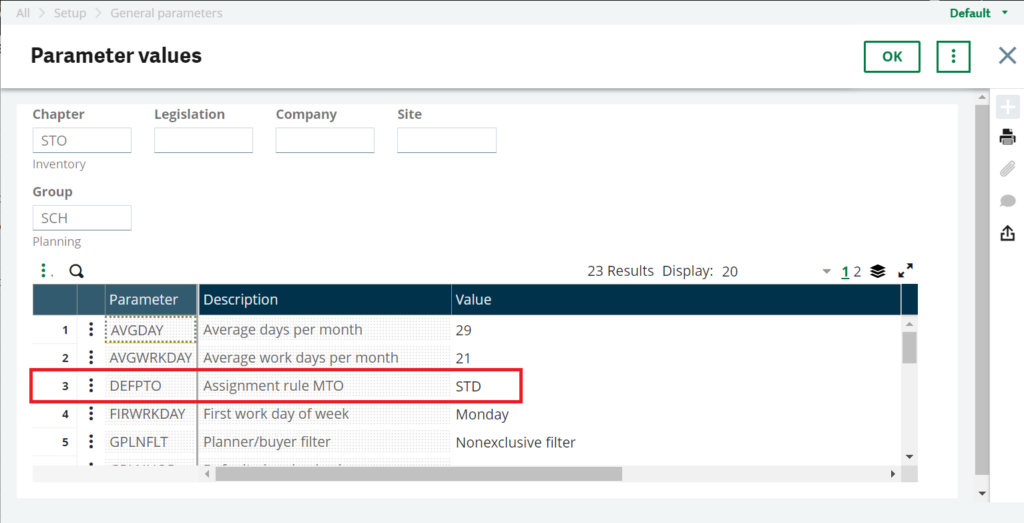
Fig. 3 – Check General parameter(DEFPTO:MTO)
It is now necessary to set up the products for automatic assignment after creating the new assignment rule.
Go to: Products > Common data > Products
Next, navigate to the product site, select the Planning tab, update the assignment rule to the newly created ZTEST assignment rule in the assignment rule field, and complete the validation process.
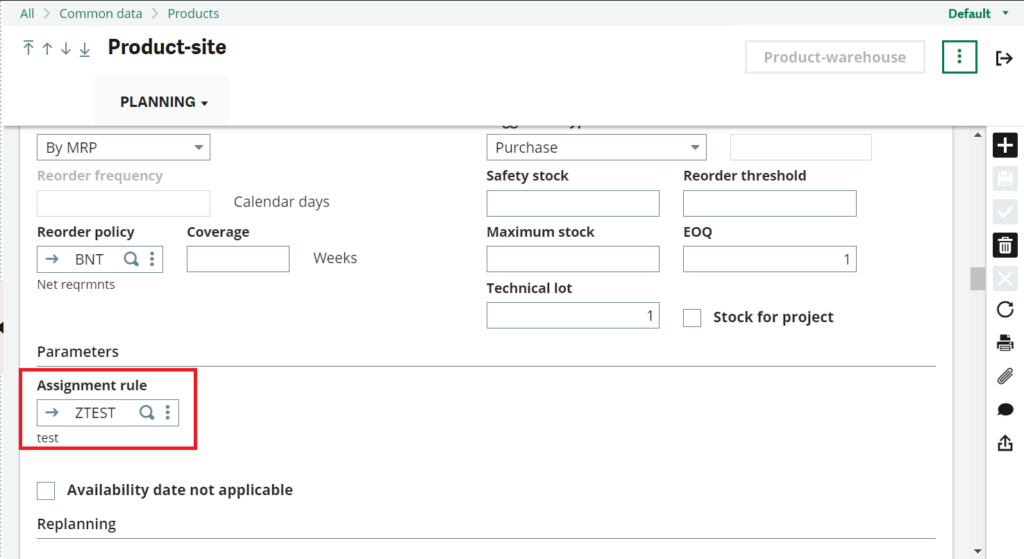
Fig. 4 – Change the Assignment rule to the updated rule
To check the multiple assignments :
Navigate to : Stock > Assignments > Assignment Workbench
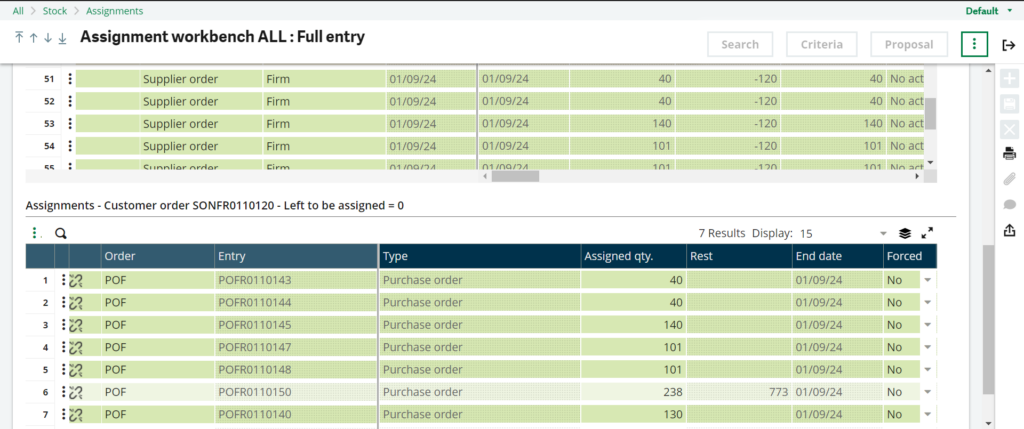
Fig. 5 – Multiple assignments
Now we are able to link the multiple assignments to the relevant sales order or work order.
About Us:
Greytrix – a globally recognized Premier Sage Gold Development Partner is a one-stop solution provider for Sage ERP and Sage CRM needs. Being recognized and rewarded for multi-man years of experience, we bring complete end-to-end assistance for your technical consultations, product customizations, data migration, system integrations, third-party add-on development and implementation expertise.
Greytrix caters to a wide range of Sage X3 (Sage Enterprise Management) offerings – a Sage Business Cloud Solution. Our unique GUMU™ integrations include Sage X3 for Sage CRM, Salesforce.com and Magento eCommerce along with Implementation and Technical Support worldwide for Sage X3 (Sage Enterprise Management). Currently we are Sage X3 Implementation Partner in East Africa, Middles East, Australia, Asia. We also offer best-in-class Sage X3 customization and development services, integrated applications such as POS | WMS | Payment Gateway | Shipping System | Business Intelligence | eCommerce and have developed add-ons such as Catch – Weight and Letter of Credit for Sage X3 to Sage business partners, end users and Sage PSG worldwide.
Greytrix is a recognized Sage Rockstar ISV Partner for GUMU™ Sage X3 – Sage CRM integration also listed on Sage Marketplace; GUMU™ integration for Sage X3 – Salesforce is a 5-star app listed on Salesforce AppExchange.
For more information on Sage X3 Integration and Services, please contact us at x3@greytrix.com. We will be glad to assist you.