In Sage X3, you may come across a scenario where you have to do customization on any inquiry screen.
For screen level changes, we simply need to make the changes and validate the corresponding screen. But, it will not reflect the changes unless we do entry transaction validation of that Inquiry screen. This validation is used to parameterize and personalize the inquiry screens across all of the application.
Kindly follow below steps to perform validation:
Steps:
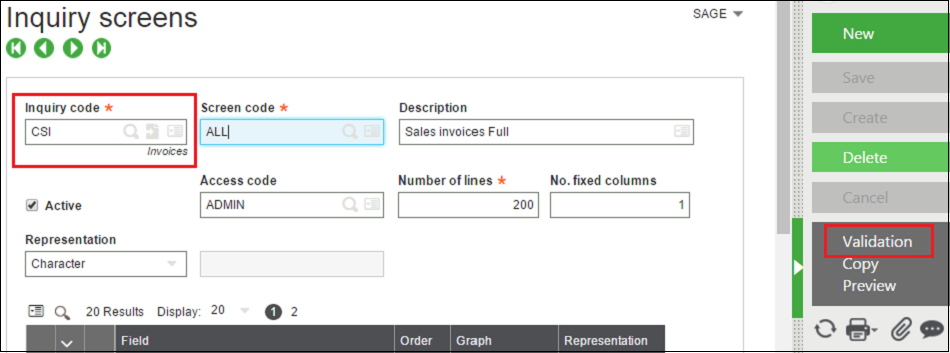
- Navigate to : Setup > General Parameters > Inquiry screens
- Select the inquiry code of your screen. Refer the below screenshot.
- Click on Validate button.
Now, the changes done by you will get reflected.
Hope this helps!
About Us
Greytrix is one stop solution provider for Sage ERP and Sage CRM needs. We provide complete end-to-end assistance for your technical consultations, product customizations, data migration, system integrations, third party add-on development and implementation expertise.
Greytrix have some unique solutions of Sage X3’s integration with Sage CRM, Salesforce.com and Magento eCommerce. It also offers best-in-class Sage X3 customization and development services to Sage business partners, end users, and Sage PSG worldwide.
For more information on Sage X3 Integration and Services, please contact us at x3@greytrix.com .We will be glad to assist you.
Also read:
– How to stop Inquiry screen from Pre-Loading?
– Inquiry – Inactive Inventory
– Using the Inquiry screen during Financial Data Extraction